
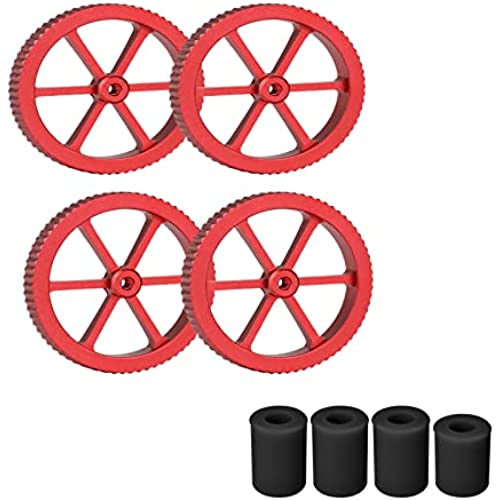


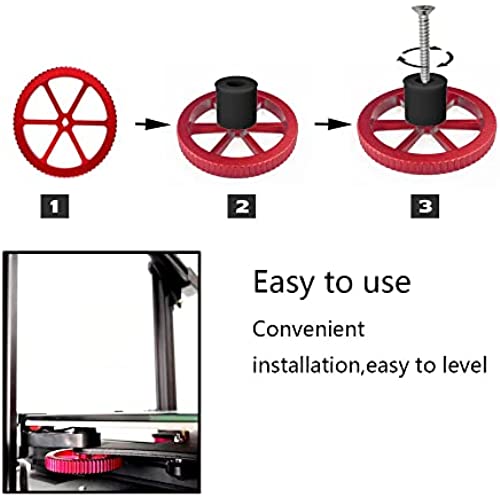


Ender 3 Springs, Creality Upgraded 4pcs Red Aluminum Hand Twist Leveling Nut & 4pcs Black Heatbed Silicone Leveling Column Mounts for Ender 3/3 Pro/3v2 3D Printer
-

Anthony Alioto
> 3 dayWorks with my Neptune 2S however it is meant for a ender 3 so you’re going to need to buy a matching stepper motor as the kit has to replace original. Also you’re going to need to drill directly into the frame with self tapping screws for the power supply mount, the stepper motor mount AND lead screw guide. DO NOT OVER TIGHTEN AND SNAP THE SCREWS OFF INTO YOUR FRAME LIKE ME.
-
chase
> 3 dayGood quailty and nice fit!! One tip! If you are intending on using a belt in conjunction with this kit, print risers for the motors so that the lead screws will stick up above the top of the stabilizers that come in the kit. That way you have enough rod for the belt pullies to fit on top. Thingiverse has a file for 1cm riser that works perfectly. This picture is without them as I didnt think about it until after I installed it. Now I will have to print them and go back and reinstall. Here is the spacer link(add this to the end of the thingiverse URL right after the .com Amazon may not allow a full link): /thing:5367399 Happy printing!!
-
Alice
> 3 dayWorking perfectly on my Ender 3. I can not see any printing quality difference after installation...but I believe it can make the printer more stable and reliable.
-
Lyle
> 3 dayTricky install and a lot of tweaking, but great for my Ender 3
-
Kevin
> 3 dayThis is a very worthwhile modification, it made my horizontal bar rock solid. The reason I got this was because I could never get the guide wheels on my carriage tight enough to track correctly. I noticed that during bed leveling when there was a lot of movement in the z-axis that the motor side of my horizontal bar would start moving slightly before the other end. This second motor and screw set stopped this problem entirely. They also included some screw stabilizers for both sides of the printers vertical arms which was a nice touch. I did need to very slightly shim the new motor away from the vertical arm because it was binding up a little at the bottom of travel. Another reason I got this was to help support the Sprite Pro Extruder/Print head I added. Not sure if I really needed to but it made sense because of how much bigger and heavier this but of equipment was compared to the original print head the Ender 3 Pro came with. The only reason I didn’t give this a 5 was the need to cut the ends off the carriage mounting screws so it would fit my Ender 3 Pro. I thought they might consider at least putting some shorter screws in the package to eliminate this problem for the future.
-
Junior
> 3 dayStraightforward to install, would recommend. Consider drilling a hole into the vertical support (left - if facing ender 3) to be able to tighten the X axis rail.
-
Wayne
> 3 dayYoull need a little creativity to assemble with stability rods.
-
ziggy
02-06-2025Be ready to adjust your z offset. You don’t want to tighten these to much cause the screws will spin.
-
JGonzales
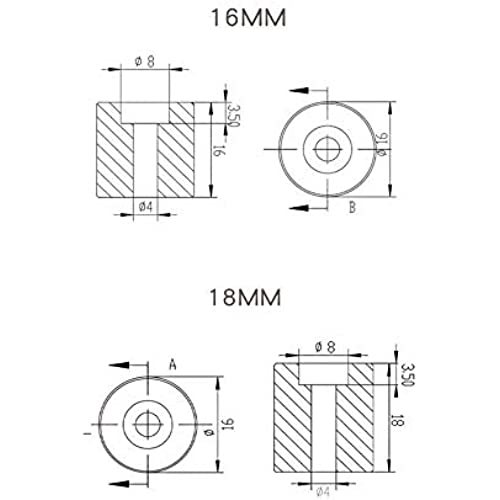
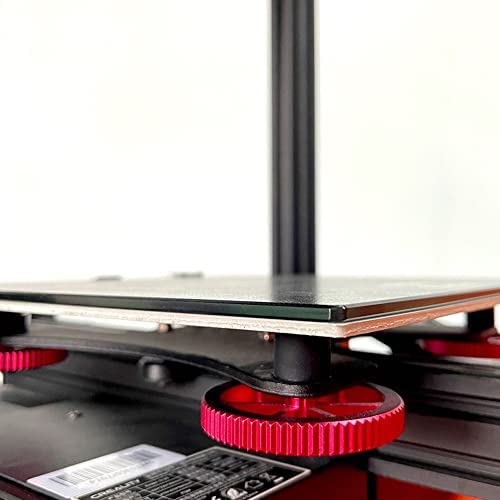
> 3 dayI started with stock springs and upgrade to the orange springs. Those were a nice upgrade, but still found myself leveling my bed after a few prints. Saw recommendations to use the silicone mounts and its a much better upgrade. it holds better than the springs and does a great job of keeping the bed level. I dont have to level the bed as much with these mounts. Just remember to use the shorter one on the back left corner.
-
Brian
Greater than one weekPleasantly surprised to find these are creality springs and knobs, not just knock offs. I put these style knobs and springs (knock off or not) on all my machines. Add a nylon lock nut to the bolt before installing these and youll hardly ever need to level the bed again.