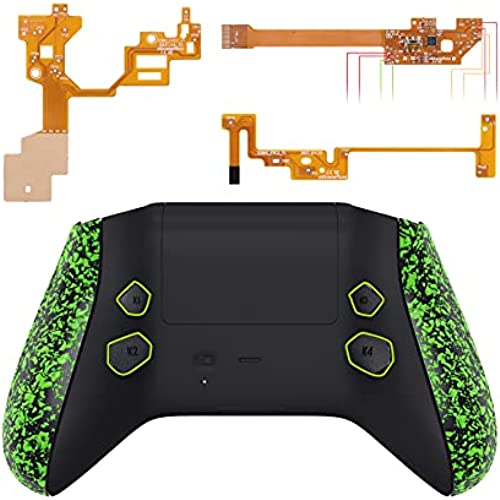
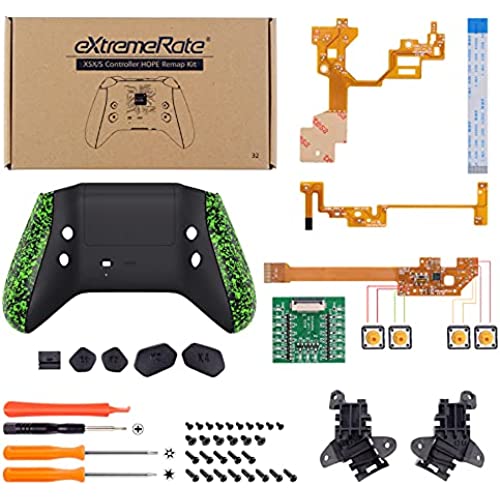
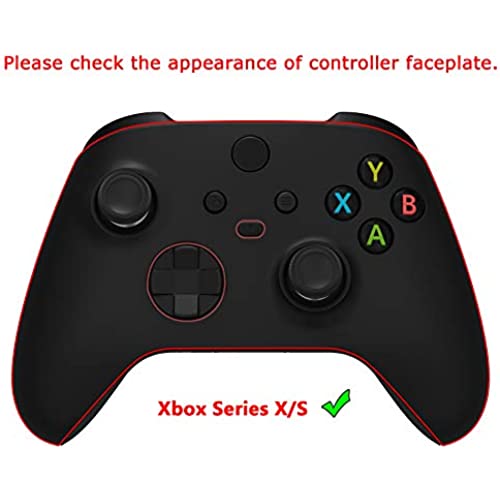
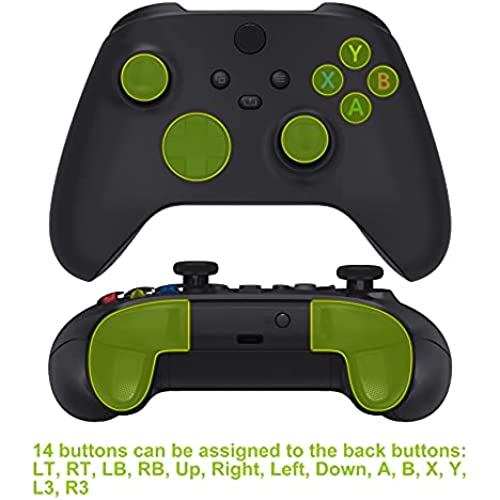
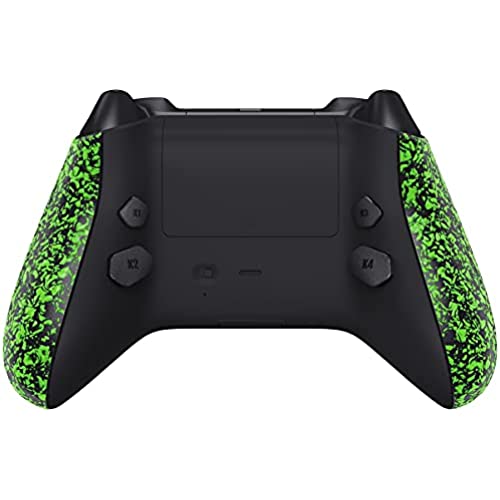
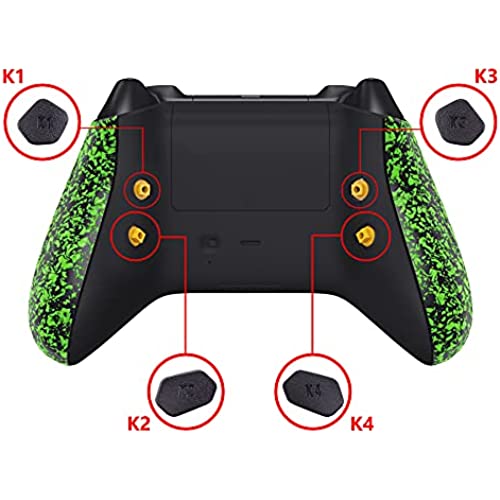


eXtremeRate Textured Green HOPE Programable Remap Kit for Xbox Series X/S Controller, Upgrade Boards & Redesigned Back Shell & Side Rails & Back Buttons for Xbox Core Controller
-

Jesse
> 3 dayLove this remap kit it’s affordable and with some basic soldering skills you can have a pretty nice modded controller. It’s definitely helped with my gaming movement being a lot faster once I got used to it.
-

Tillbar
> 3 dayPRO: Elite was acting up. Bought a the cheapest solderinf iron on Amazon and this kit. (Just made sure to apply good amount of pressure when soldering through the holes) Got it first try and it’s been a month and they seem to still work. Cheapest Elite Controller. CON: It is a finger print magnet just like the Elite 2, and the I kind of don’t like the position of the K1 & K3 position since I only use K2 & K4 , but a personal problem.
-

Elijah Roush
06-06-2025At best, Im a novice at soldering. My experience is limited to very basic wire on wire stuff maybe 4-5 times in my life. I have the cheap Amazon recommended soldering pen kit and a steady hand. This was pretty easy. It took around 2 hours and a couple moments of frustration but when I was done, I had perfect solder beads and solid points. When I tried the tester, every light illuminated flawlessly and when I tested my controller in a gamepad testing program, it worked flawlessly. HOWEVER, WATCH TUTORIALS. If you watch the companys official tutorial, check the comments first. They tell you to use the wrong screws early on and correct it in the comments. If you use these screws for the button brackets, they will push out little bumps of the plastic on the back of the controller when tightened because theyre longer than the screws youre intended to use. Other than that, I recommend using flux or at least flux core solder for a MUCH easier install. My strategy was actually cutting little bits of solder, using tweezers to position them on the circuitry test points and get a nice bead formed, then hold it down with tweezers onto the board TP and solder it to the board. My solder didnt want to bead and separate and instead just beaded up onto the wire instead of coming off onto the solder points on the circuitry. (Probably because I was using a super fine soldering tip). So cutting it with a razor and tweezering the perfect amount of solder onto the points was easier and resulted in perfect solder beads, for me at least. Just dont use too much solder, it truly doesnt take much. All in all, this was incredibly fun to do and in my opinion, totally worth it if youre at least sort of experienced with soldering. I just wish I had pictures from midway through or after soldering because I was very proud of my soldering job.
-

Justin
Greater than one weekNever soldered before so was a little timid at first. Thank god for the test light device in the package because 3 points were connected and I went back and hit them again. After that all the light went on and it worked just fine. Gonna take some getting used to with the buttons but pretty nice quality and looks good for the price. Overall I am happy so far.
-

Carlos Mejia
> 3 dayAs other reviews mention, after installing this kit, several keys do not work. In my case, not even the remapping worked. (Its easy to install, but note I have plenty of experience working with Electronics/Robotics and soldering) But the worst is the support given by the seller. To make the story short, after installing the kit (and then removing it), the controller (Brand new controller that came with my Xbox Series S) stopped working. Of course, installing this voids your warranty, but I still brought the controller and the kit to an authorized Microsoft Repair center for diagnostics, after troubleshooting, the technician found the kit had a Short circuit (They seem to dont do QA to their products), the issue caused the main logic board on the controller to die. The short circuit was between 2 points on different points of the flex board, but they problem was somewhere on the traces.. so it was a manufacturing issue, so this company probably never test their product before shipping After contacting the seller, with diagnostic and the issue found by a certified technician, they turn very hostile, and after requesting to be accountable for their issue, they stop replying. (Also note you can only contact them via Social Media, not even an official email, ticket system or Customer support, they reply to you every 2-3 days). I have already contacted Amazon to conduct an investigation on this seller.
-

K&B-PA
> 3 dayVery easy! Definitely recommend.
-

tj_M
> 3 daySadly my controller started triple tapping buttons when the mod was installed. So, I had to remove it. After having this installed and then having to remove it, I can say I cant see playing some games w/o it. I have zero plans to risk buying another one currently till I can address the failure point. Im leaving my first review intact but would like to make a note. *The removal was easier than expected but I recommend using proper pry tools and a low temp setting on your heat mat/gun to soften the adhesive and make it come off w/o damaging the tfp/ribbon connectors. My First Review is below. PROS Great upgrade! CONS Can make future controller repairs considerably more difficult. Super easy to figure out. I was able to install it w/o even needing to look up directions online. If work on Cellphones or Macs running traces and dealing with multiple screw sizes all over isnt a big deal. (This is way easier) Build time is about 20 Minutes. Its plastics designed very well, but not the best quality of plastics. -Might become a bit brittle and crack near stress points over time. So, dont over tighten those screws. My main gripe is with how its is made to be permanent. It makes future service of the controller way more difficult than it should be. Like if it develops drift for example. A simple redesign of the flex-board could eliminate this by moving the w2w to the center and run it up between the wireless ants. It might have room to use a single ribbon this way. (would loose the Tester feature) But that way the tape wouldnt need removed should you ever need to replace your joys. or button caps. The price of this kit + a controller is close to that of a refurbished elite controller or even more than a used first gen elite controller. It never hurts to think about serviceability. Anyways Great product if you already have a spare controller laying about. It might be worth the extra few bucks to get an actual elite series as they are fully serviceable and can be exchanged for new ones while under warranty should they break.
-

Angel Gonzalez
> 3 dayPerformance wise the kit is amazing, the buttons are really responsive, feel tactile and smooth. Never had a problem while playing games like Elden Ring/Bloodborne. But looks wise, this is how the backplate looks after a lil less than a month of use, although I hear this is only a problem with the white parts, it started to yellow very fast which is very sad because I was going for an almost white controller. 3/5 probably a 4.5/5 if I got any other color.
-

Jacob Stephens
> 3 dayTL;DR - Get it if you know how to solder and want back buttons I installed three kits from extremerate, all for the Xbox Series S controller. These kits were the hope remappable buttons, the flexor trigger stops, and the soft touch controller shell. During my time installing it I had two kids running around the kitchen table that didnt seem to understand I had a hot iron and needed a stable enviroment to solder the more than 20 connection points. After sending them with their grandma to go to the beach, I was able to continue and it didnt really get easier. That said I have soldered much worse, namily a trace line on an OG Xbox board, but this was up there as all the points on the board didnt line up perfectly. This could have been mitigated by using some tape, but Im lazy. Thank you to extremerate for including a test board that allowed me to see the missing connection point that I seemed to have overlooked. I would have been pretty annoyed with myself if I got everything together and had to find out by myself if everything worked as intended. Once I got the controller together it worked great. The buttons have a nice tactile feedback that simulate the clicky feel and sound youd get from a mechanical keyboard. Setting the buttons on the back is fairly easier, though not as easy as something like the Elite or 8bitdo controllers. That said this is a mod and not a full controller, so all is forgiven. All in all, its a great product. I would highly recommend it to those with soldering experience who want to add programmable buttons to a stock controller. They arent as quality as something like the Elite controller, but if you have a stock controller that isnt being used go ahead and throw these on it.
-

Adam
> 3 dayUsed the test board after soldering and it would only light up 5-6 of them. So I resoldered the other points twice and tested it again and none of them lit up. When I pressed a soldered point, that point would light up. Im guessing the test board was faulty because after I assembled it, I was able to remap the sticks and the face buttons just fine. I really like the mod and theyre not as loud as the ps4 remap kit and shell from extremerate. Those were really loud. This mod would be better if the k3 and k4 buttons were as small as the top buttons. I removed the bottom ones as I like gripping it tightly and the bigger buttons got in the way. Also the back is a downgrade compared to the textured back on the original which gave more grip. I really dislike the soft shell as hand oils will go on them overtime and cause the color to fade


