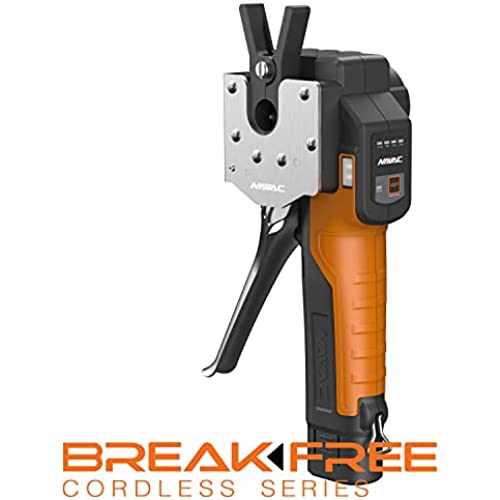
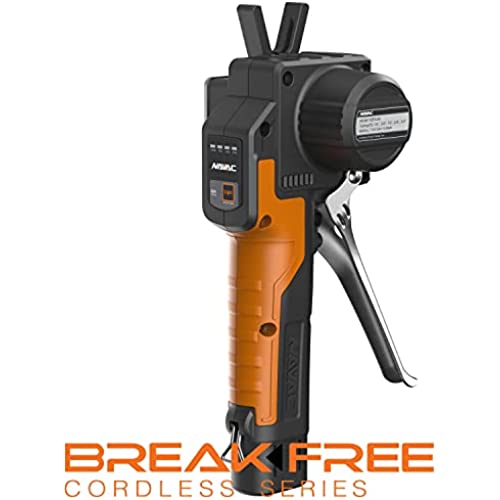
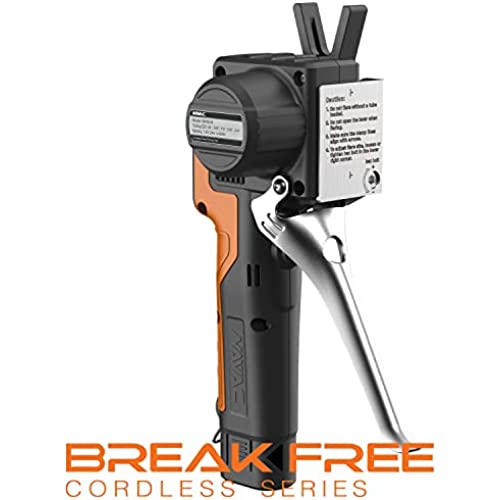
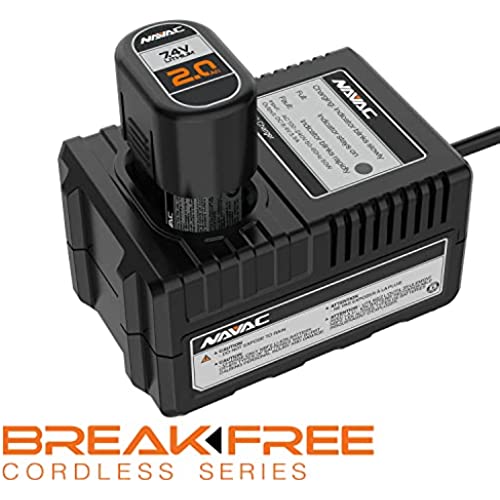

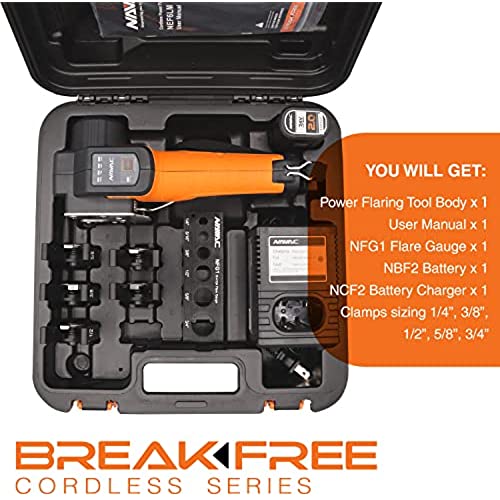


NAVAC NEF6LM BreakFree® Power Flaring Tool, 3/4 Max OD, w/ Flare Gauge
-

Jake W.
Greater than one weekI got a few of these for our install crews and they love them. Makes perfect flare joints every time. Battery last for a while, but will need to be charges on bigger jobs.
-

Jim S
> 3 dayPre-set depth gauge makes flaring easier plus it saves wear and tear on your wrists. Cant comment on the durability since I havent had for very long but it definitely seems well made.
-

Christopher L.
> 3 dayMakes perfectly smooth flares with plenty of thickness left to copper so as not to crack. Recommended by my Tech support manager for my young guys learning. so they can see how it is supposed to look. This is a game changer for leaks. add a touch of nylog on the back of the flare for friction relief of Jam nut and your 100% every time. 5min learning the tool and then perfection.
-

Mustafa M Saieh
> 3 dayFaster, High finishing quality, top performance Thank you NAVAC
-

shalom
> 3 dayIts very useful tool for HVAC-R.
-

Nathaniel Price
Greater than one weekI did a ten zone ductless mini split install, so with 40 total flares on all evaps. No deburring required and not 1 leak, every flare is perfect, this is one of my favorite investments tool of last year!!
-

david st john
> 3 dayBought to make job easier and boy it sure does
-

Kathy Johnson
> 3 dayBest tool I have for Mini Splits. Time saver and No leaks
-

chad fletcher
> 3 dayFast, simple, and as others have stated, precise. You get what you pay for.
-

W. S. Yoon
> 3 dayI own several flare tools, which are all hand tools. Making good flares are the key step on the installation of the mini split heat pumps. Every time I make the flares, I was nervous for making it too big or too small. I actually cut the line set a bit lager so I can cut the pipe and make the flare again just in case. With this tool, I have a confidence that I can make perfect flares every time. It is really a no brainer that this tool is needed for the job. I am so glad that I found this wonderful product. There is some improvement, however, I would like to suggest. First of all, the size of pipe should be labeled in both sides. It has only in one side and many times I had to flip it to read the size. In the picture, I used my labeler to print the pipe size and the clamp and to the slot in the case. I also cut the corner of the case where the power adaptor be located. The power cord is jammed and I was afraid that I may damage the cord. I used my oscillating tool to shave the corner so the cord is passed without getting pinched.
