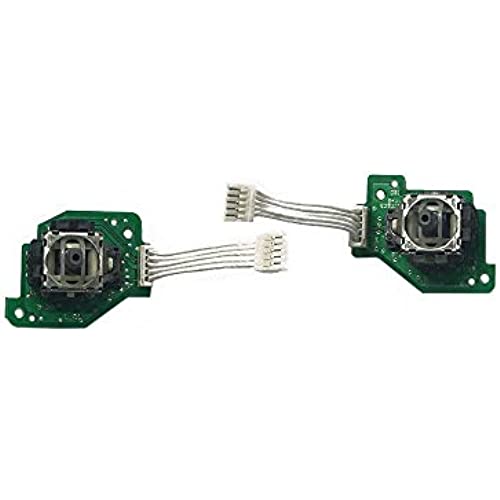
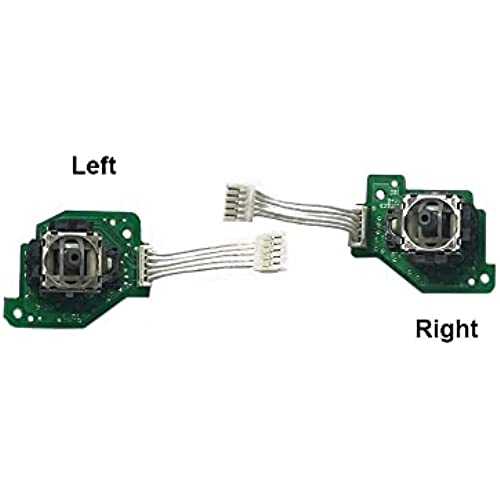
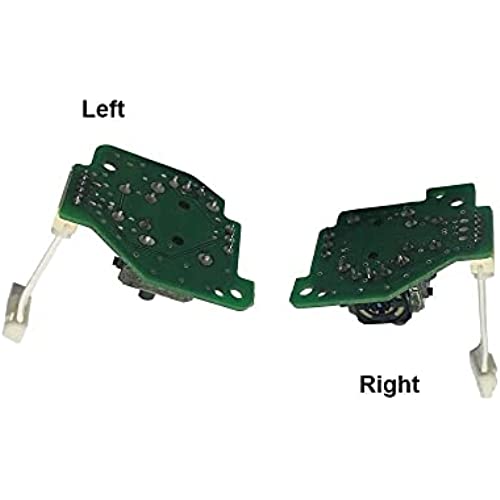
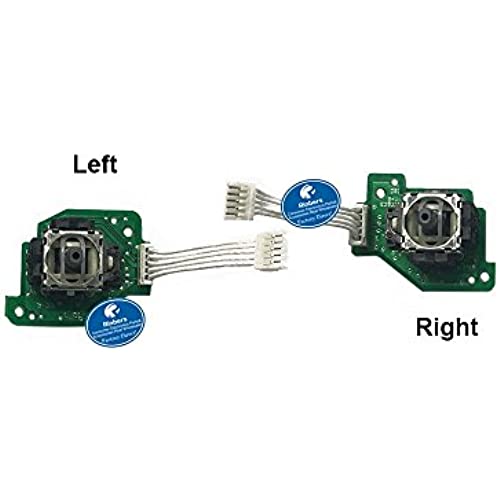
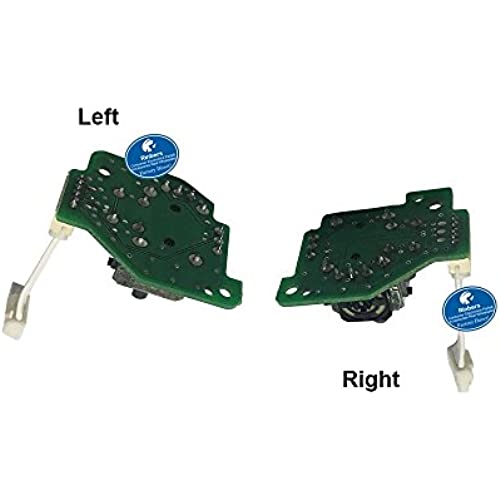
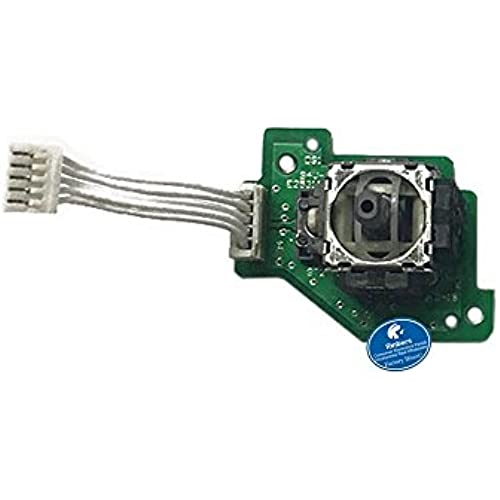
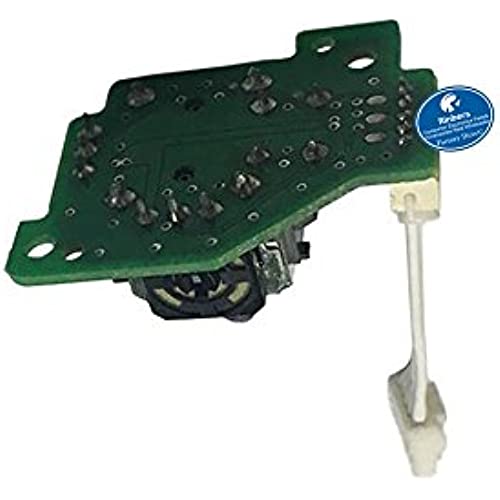


Rinbers® Left Right Analog Joysticks with PCB and Flex Cable Assembly Replacement for Nintendo Wii U Gamepad Controller
-

Christy
Greater than one weekOne of our control sticks was failing. Bought this, used Ifixit website Nintendo Wii U GamePad Analog Stick Replacement by Kim Arre as a guide, and less than an hour later we were up and running. Note: before installation it may seem like sticks will get stuck all the way in one direction. Once installed ours didn’t and work exact same as original. I also bought the XOOL Triwing Screwdriver for Nintendo - Professional Full Triwing Screwdriver Repair Tool Kit,3.8mm and 4.5mm Security Screwdriver Game Bit Tool Set for Nintendo Switch Joycon/Nintendo Wii/DS/DSL/GBA for some of the specialty tool. That worked fine as well.
-

Rusty Shackelford
02-06-2025gave life back to my broken wiiu gamepad. easy install and cheap 10/10
-

Fred C
> 3 dayPerfect fit. Just recommend buying the special screwdriver to open the game console.
-

HBN
> 3 dayShipped fast, worked as intended
-

Zane Hardison
> 3 dayI got 1 day shipping on these thanks to Prime, and they arrived the very next day! Perfect for repairing my stick drift on my Wii U gamepad. Thanks a ton!
-

John
> 3 dayHorrible the sticks stay stuck on or whatever direction you move it and let it gowould show you pics but I got a new phone and lost my pics
-

Aida argentina
> 3 dayWorked very well on my Wii U gamepad!
-

Daniel Flores
> 3 dayItem didnt work, was dirty and defective
-

Jonathan Stafford
> 3 dayThese replacement controllers worked great, and I was pleasantly surprised to find some included screwdrivers. Follow the instructions on iFixit to install them.
-

Green_Sticky
> 3 dayWorked great to replace drifting analog sticks on wiiu gamepad. No more drifting! Just make sure you look carefully to the orientation when replacing the originals, it could easily get confusing not being able to tell which is left or right. Otherwise a relatively easy fix for an annoying problem.
