
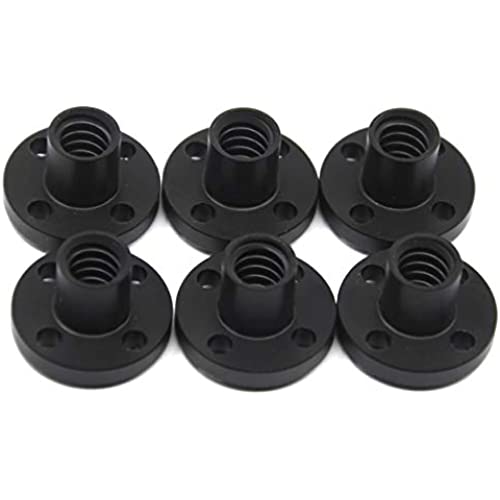
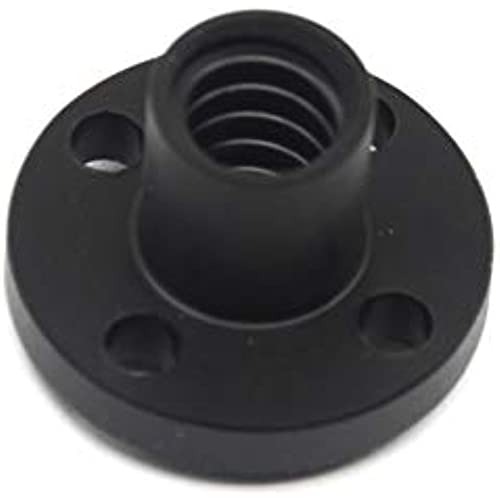
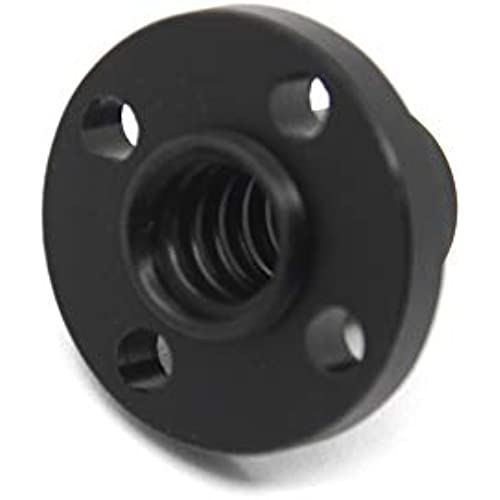
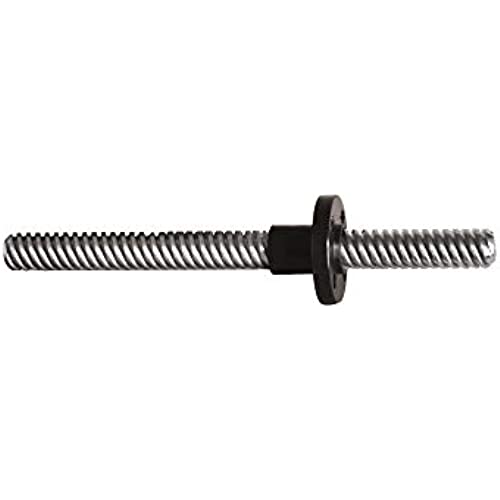
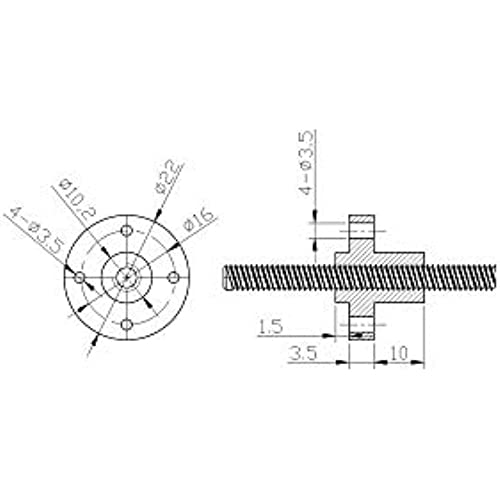
Befenybay 6PCS Diameter 8mm Black TR8x2 Lead Screw Nut for CNC and 3D Printer Parts (Size: Tr8x2)
-

Erick
Greater than one weekMy ender 5 plus was driving me insane till I used these. Its so much better now, no more squeaks!
-
Door Maker
> 3 dayWorked!
-
Robert in Fort Collins, CO
> 3 dayThese make a good update to help eliminate the need for lubricant and eliminate noise. They are a little sloppy - a lot like the brass ones. I think a little higher precision would be ok.
-
Ama Customs
> 3 dayIt didnt make my machine as super quiet as i was hoping (i have another rail somewhere thats causing some buzzing/squeaking noises), but they did quiet it down a bit, and i feel like everything is actually running more smooth. Never used the plastic nuts before, but i dont think id go back to brass now
-
wookie457
> 3 dayGot these for my new ender 5 plus. Fit great and took away the screech it had developed when lowering z axis.
-
G. McWhorter
> 3 dayI used these to replace the original brass anti backlash nuts on my Sainsmart Genmitsu 3018 pro cnc machine. The ones that came with the machine were a nice fit on the leadscrew, but the housing they went into was a sloppy fit. There was about 1mm or so of play so when the machine was running, the anti backlash nuts on all three axis (X,Y and Z) would all rattle around and make a god awful noise. These are not an instant upgrade though as they are round and the ones I replaced were more rectangular so what I did was used a file (a rasp works too) to gradually shave down two opposite sides evenly and kept test fitting them into the recess until they were a nice snug fit with no movement. It takes awhile but its worth it, my machine is so much quieter now, no more clattering sounds. I also stuck another one up underneath where the Z axis lead screw ends because on my machine there was literally nothing there but an empty hole. The end of the lead screw basically just dangles there and there is nothing to contain it and keep it from waggling around. I did have to dissemble the Z axis to do this and then I had to slightly enlarge the hole below where the Z axis leadscrew ends. Then you just need to drill out the threads on one of these lead screw nuts and push it up through the bottom of the Z axis assembly. Choose a drill bill that is just big enough to remove the threads, thats all. Now the Z axis leadscrew can not flex anywhere because it is contained at the bottom (with the threads drilled out it can spin freely inside the nut without catching). Overall, for less than $10, these made for a nice cheap upgrade for my machine and made it much quieter and Ive still got two spares left! Good deal.
-
QUANG D.
> 3 dayGood item
-
S Williams
> 3 dayThe threads on this fit the Prusa MINI+ and my first few prints have been successful. Although the threads fit, the fastener holes and diameter are not the same size as the MINI+s original nut. I had to modify the holes on this screw nut in order to fit the MINI+ (I cut it to make two of the holes into slots). So far it works!
-
E. Jorgensen
> 3 dayQuieter than brass and zero lash. Yeah they wear eventually but there are six of them in the package.
