
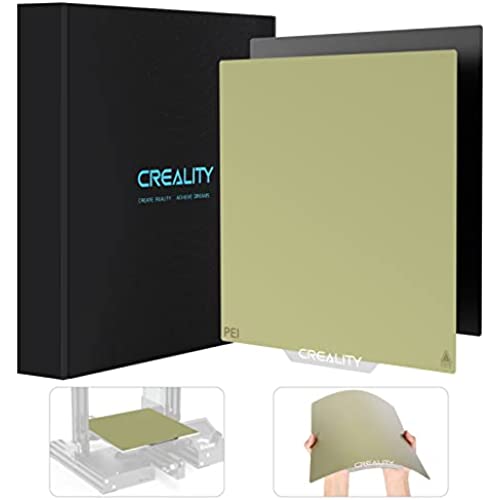


Creality 3D Official Ender 3 Bed Upgraded, PEI Sheet Removable Magnetic Flexible Heated Bed Plate Build Surface Bed Cover for Ender 3 S1/Ender 3 V2/Ender 3 Pro/Ender 5/Ender 5 Pro 3D Printer 235X235mm
-

Adam Walker
> 3 dayI was surprised how well my prints have stuck to this new material. I have been using a textured glass and that still needed hairspray to stick. The PEI has been great so far without anything extra. I love how easy it is to remove the print. Either flex the plate to pop it off or let the bed cool completely and it slides off.
-
Alex Flamand
> 3 dayIts official, PEI is the future. This thing is AMAZING! Everything sticks solidly when heated, and slides off effortlessly when cool. The texture it leaves on the bottom of prints is CRAZY smooth- I would compare it to bare hardwood thats been sanded to 2000-4000 grit sandpaper, its immensely satisfying. Ive only a few complaints: First, its a fingerprint magnet. If you have to handle it, I would recommend getting a cheap pair of white velvet gloves or the like to prevent smudges and fingerprints. It doesnt seem to affect adhesion, but I like to keep it clean so it looks nice. Second, getting small parts, like small support towers (>5mm in size) off the build plate is very difficult (IMPORTANT: with PLA its manageable, but IMPOSSIBLE with PETG. I had to buy an extra because a small support tower just will not come off. Print at your own risk). Lastly, its quite easy to scratch, so I wouldnt recommend using tools to remove prints, and always make sure that your Z-offsets are saved, or else youll end up with deep scratches. In summary, just get it. Its absolutely worth it, just make sure to treat it right, and it will serve you better than anything else youve used. Im honestly shocked this isnt standard on printers nowadays, so go ahead and get it!
-
Jose Garcia
Greater than one weekBest thing you can put on your bed.
-
Chris D.
> 3 dayThis plate is a huge improvement over the stock Ender 3 plate. The original plate needs to be held on with clips, and this one just has high temp adhesive to hold the magnetic part to the build plate semi-permanently, and then the main build plate attaches magnetically so its easy to remove to take parts off. My prints are much cleaner now, and the plate is way easier to clean too.
-
Andrés Mauricio Fernández
> 3 dayBien producto aún que si trabajas en el con TPU lo vas arruinar, también se debe tener cuidado de retirar el PLA con la cama totalmente fría si no lo arruinas
-
Daniel
> 3 dayEasy to remove you prints from. Very nice.
-
RSacky
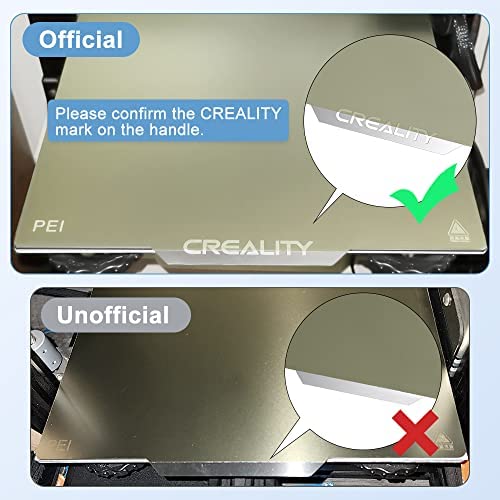
Greater than one weekIm using a new Creality Ender 3 Max Neo. **No need to apply the magnetic sheet** When I got my PEI sheet I was very apprehensive about applying the magnetic pad, which uses sticky adhesive on its backing to fasten permanently to the heat bed. If it didnt work as intended I would be stuck with a magnetic mat on my machine. It would very difficult to remove it, and clean off the adhesive (if at all possible). So I didnt use the magnetic sheet. I simply removed my glass plate and swapped in the gold spring steel PEI directly onto the heat bed. Its about half the thickness of the glass bed so I shoved a small piece of cardboard under each plate clip and it held snug. Of course, the bed needs to be manually raised a bit first to compensate for the thinner plate. To ensure that the PEI was laid perfectly, I positioned the printhead at all corners and the middle, measuring the distance with a sheet of paper (the paper should slide between the printhead and the plate with just a bit of resistance). Then I auto-leveled the bed. I have so far printed a dozen models, and they all held firm and printed perfectly. The best part... they popped off the PEI sheet with no effort at all. I didnt even need to remove the PEI and bend it. Bonus - not using the magnetic sheet allows the PEI to warm faster because it isnt insulated from the heat bed. And without applying the permanent magnetic sheet, I can easily swap back to the glass bed without the magnetic sheet insulating the heating process. After years of struggling with not enough adhesion, then way too much adhesion - its a dream come true.
-
Soren R.
> 3 dayFirst off, I installed it correctly. I made sure my metal plate was clean from oils with 91% iso. alch. -I made sure the magnet was completely flat and gave it plenty of time to cure. a Full 2 days. I placed the steel sheet on the bed and warmed it to 60c for petg. I start printing and withing 10 mins the sheet has warped away from the magnet but also the magnet has warped around the edges and is not sticking to the metal plate at all. I have to clip the sheet and magnet around the edges to get it to work past 60c. It does work wonders when you can get it to not bend. Prints adhear well. Do i need spray adhesive? I was worried the magnetic mat might not stick. It didnt seem very sticky. Have not yet contacted support. debating if this is something i can diy fix/ user error or a real issue with product. Edit- 3/26/23 Nope does not stick, deforms at 60 degrees.
-
Aaron
> 3 dayThis PEI bed is fantastic! 5 minute install on my Ender 3. Dont forget to reset your Z offset if youve got auto leveling. Great adhesion, easily removable prints, awesome!
-
Eddison
> 3 dayI have ran PEI magnetic sheets for about 6 months and find they are the best adhesion(with alcohol cleaning before every print). The release is fantastic especially for larger prints. So small print still need a little motivation. Downside is the sheets are a lot easier to damage(gouge) then glass. When running firm ware that allows negative z you have to be very careful not to trench the sheet. It does not ruin the sheet just makes it less effective.


Creality Official PEI Sheet Removable Magnetic Flexible Heated Bed Plate Build Surface Bed Cover for Ender 3 S1/Ender 3 V2/Ender 3 Pro/Ender 5
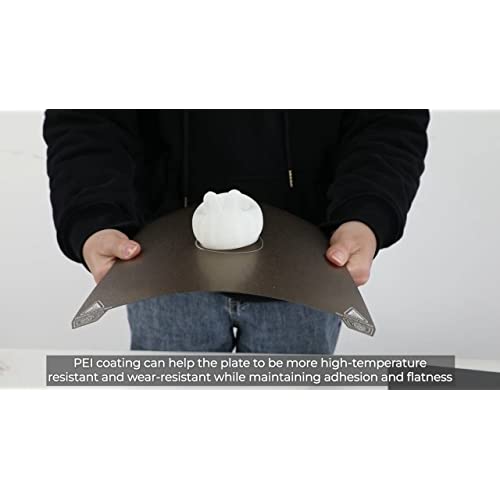
- Easy to adhere to the printing surface, easy to remove the prints, flex slightly to pop your print right off.
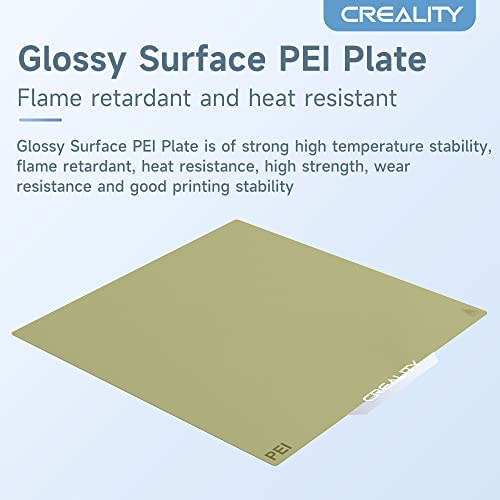
- The PEI printing plate surface is smooth that will not leave any marks on the bottom of the prints.
- The PEI sheet can bear the maximum temperature of the nozzle at 200°C, and the hotbed at 70°C.
- Compatible with PLA/ PETG/ PEEK/ ABS and any other filaments.
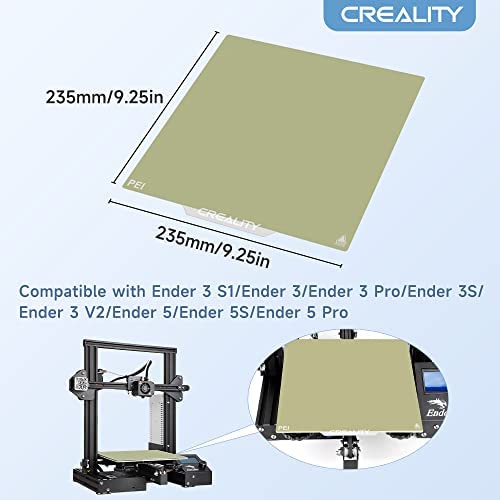
- Compatible for Ender 3/ Ender 3 S1/ Ender 3 v2/ Ender 3 Pro/ Ender 5/ Ender 5 Pro etc.
Specifications
- Product size: 235*235mm (9.25*9.25in)
- Material: Spring steel(PEI surface) + Magnetic rubber
- Product weight: 455g (1lb)
- Product thickness: 20mm (0.78in)


NOTE!
1. Please remove the transparent protective film on the surface before use!
2. Level the bed and set the height of the nozzle before printing! Because it is slightly thinner than other bed.
3. The color may exist a slight difference due to different screen displays.

|

|

|

|

|

|
|
|---|---|---|---|---|---|---|
| Soft Magnetic 235*235mm | Frosted PEI Sheet 320*310mm | Frosted PEI Sheet 235*235mm | Frosted PC Sheet 235*235mm | Double PEI Sheet 235*235mm | Double PEI Sheet 235*235mm | |
| Product Size | 235*235mm | 320*310mm | 235*235mm | 235*235mm | 235*235mm | 235*235mm |
| Surface Technics | Smooth | Frosted | Frosted | Frosted | Smooth & Frosted | Smooth |