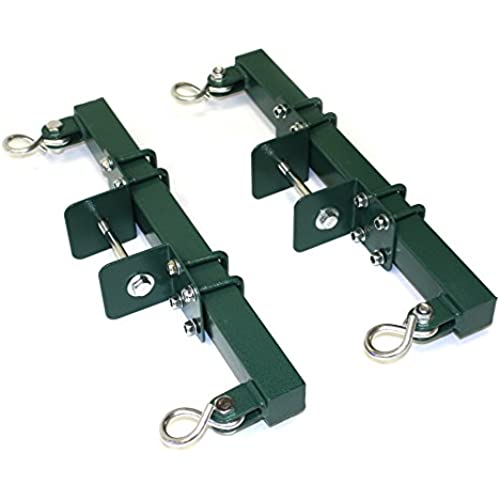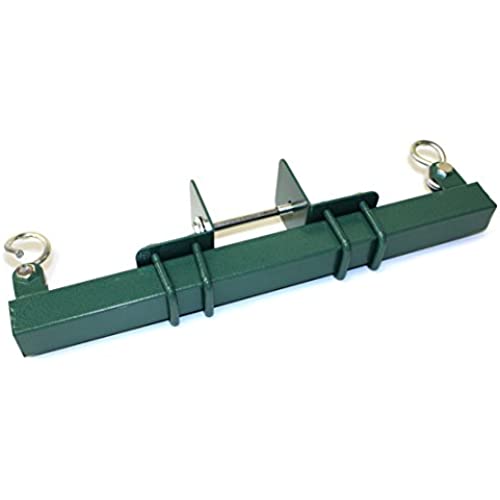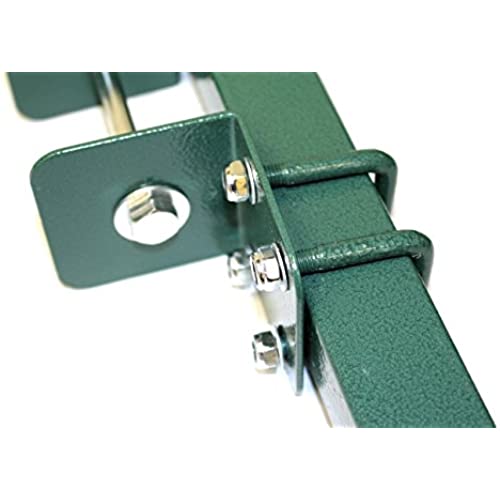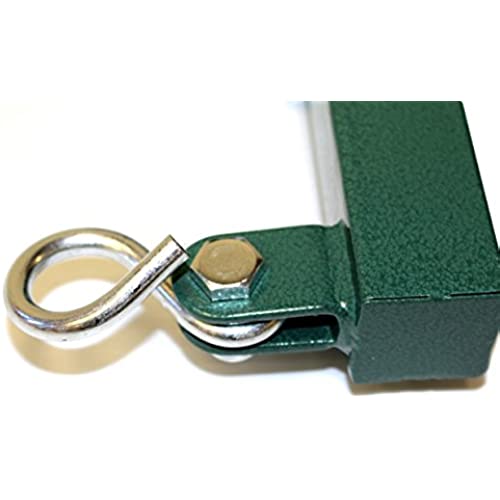


Eastern Jungle Gym Heavy Duty Brackets (Pair) for Backyard Swing Set Horse Glider Seat - Adjustable to Mount to Any Size Wooden Swing Beam
-

Mechelle singleton
> 3 dayI purchased 2 of the same swing sets and 2 of the same gliders. I liked this kit so much on the first set that I ordered it for the second swing as well. We did have to add 2 pieces of wood to the swingset I purchased. This kit is designed to be used on a 4 x 4 piece of wood and the top beam of the swingset is only a 2 x. A piece of 2 X 4 and a screw and the bracket fits perfectly.
-

Mr.Harry
> 3 dayI ordered these to hang a glider, but these are very heavy duty and Im sure they could be used for something much heavier. Im very impressed with their quality.
-

Ryan K. Edwards
> 3 dayWas going to cut my own but these saved me time and hasstle and work great!
-

Julie K.
> 3 dayWorks great on our rainbow playscape and much cheaper than the cost of rainbow. Very sturdy and holds the weight of 2 kiddos ages 6 and 7. Easy to install.
-

Chet
> 3 dayVery strong and solid build. I even test rode the attached glider without any issues (225lbs).
-

Alec and Michelle
> 3 dayGreat, but didnt come with instructions. Luckily my husband knows how to built and install things. If someone wasnt handy like him it would be annoying. Also missing 2 bolts. Those are the only reasons i docked a star. Great price and quality
-

TheHAG
> 3 dayStrong, well made.
-

Fokkers Feint
> 3 dayThis bracket is a nice upgrade over the stock bracket that came with my kids Kidcraft glider. Quick install, very solid. Highly recommended.
-

SJ Mom 2011
> 3 dayThe brackets are solid and support the glider swing. However, no instructions or additional installation hardware is included. I am not sure what play yard it should be utilized on, but we had to essentially manufacture our own installation kit. It is a great product, just not something that is plug and play.
-

Brandyn Fadel
> 3 dayVery sturdy. Welded not stamped metal. Powder coated finish. Very easy installation and adjustment on 4x6 wood beam. I liked it so much I bought another for my daughters playset at her house.
