
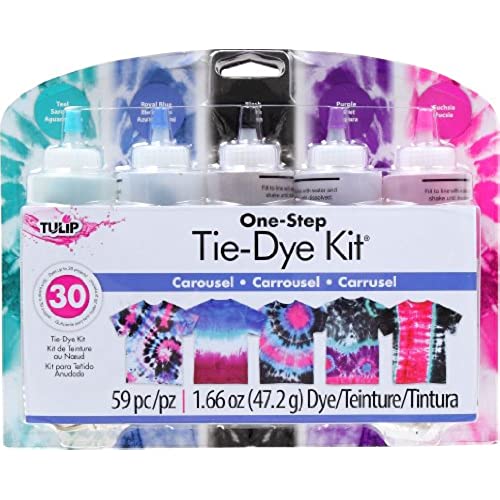

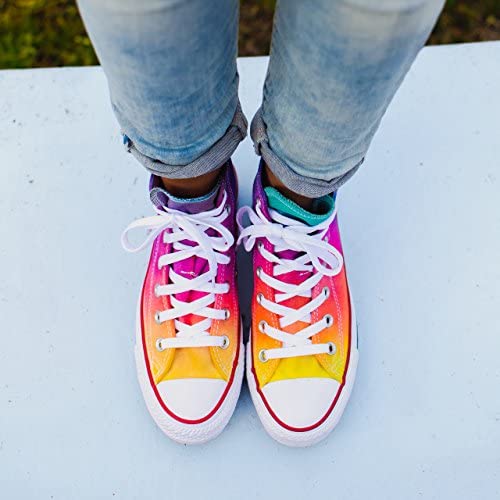
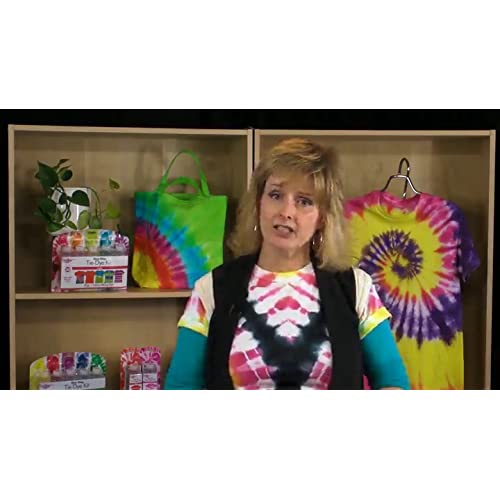
Tulip One-Step Tie-Dye Kit Carousel Colors Tie Dye, 59 Piece Set
-

ROBERTO JUNIORS RIOS NAVARRO
> 3 dayMuy buen producto, mi hija quedo feliz!
-
Emily Thomas
> 3 dayWill order again. The colors are bright, easy to use!!
-
T. L.
> 3 dayMade a tie dye project with my 7.y.o nephews. Easy to use and beautiful colors. They adored their shirts and had so much fun.
-
Devananda McGuire
Greater than one weekthis package comes with replacement dye powder. so far the dye seems strong. there are thorough instructions one many dye techniques. all in all a well priced kit with satisfying colors. i dyed two hooded sweaters, this took two whole bottles of color and another 1/2. consider the absorption of your material. have fun!
-
Denise
Greater than one weekGave this as a birthday gift to a 12 year old. She was super excited to use it, but havent seen how it turned out yet. Came nicely packaged and arrived super quickly.
-
Sarah
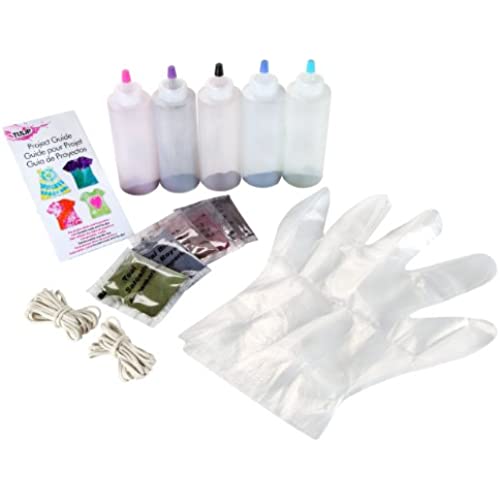
Greater than one weekThis kit was perfect for a project with my 8yo boy, 8yo girl, and 11yo girl! The colors are really trendy and not too feminine for a mixed group of kiddos. Plenty of gloves and rubber bands and extra dye made it a one-stop purchase for a full family craft project!
-
Ernest Lemke
> 3 dayThis made for an easy tie dye day. The kids and I really liked using these.
-
Virginia_Dare
> 3 dayMade pretty tie-dye shirts at my daughters birthday. Easy to use, but really make sure you have the gloves on (or better, yet, buy good-fitting ones from the first-aid department). it can be tricky when youre doing the project to tell if the dye is going where you want it, because it runs down into your tied parts. But, they turned out nice. Easy to wash (no need to set) and color stays then ages nicely. I have to say, though, do not believe the internet that says this is an easy way to do tie dye with very small kids. I mean, its EASIER, but not easy. We tried it with 3-year-olds, and it was not a very fun time for them because they could not control the dye bottles very well, so we couldnt let them do as they might have pleased. If you are going to do this with little ones, make sure they and the immediate area are protected enough that you dont have to worry about the dye flying around.
-
E. Baker
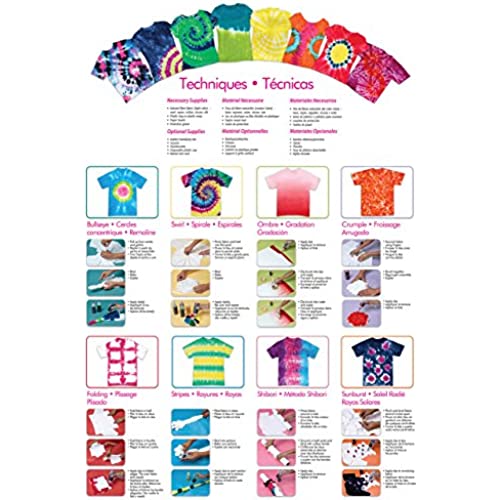
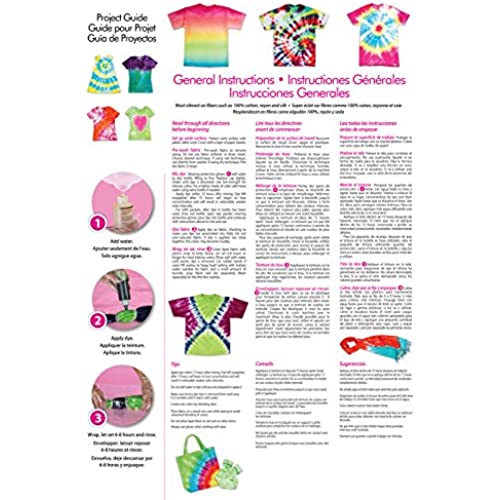
> 3 dayI love this kit! It was very easy to use and turned out to be a lot of fun. After the first kit, I bought several more to practice the art and share it with my friends through tie-dye parties. Having gone through 3 full kits (and made a few mistakes), I have some tips to share to maximize your success: Wondering what kit to buy? If you get just 1, I would recommend carousel because this has the darkest colors that give the most vibrant results. If you get 2 kits, carousel plus rainbow gives you 10 different colors, therefore the greatest choice when you are making your shirts. Unfortunately, you can only get orange if you buy the luau or neon kits. For some reason, the 5-bottle kits are the cheapest per gram of dye (cheaper than the refill kits that dont even have bottles). Wait for them to go on sale, the price on Amazon varies a lot from one week to the next. Can you really get 30 shirts from one kit? Yes. But they wont be 30 adult 2XL. And you have to plan ahead--use all of the colors in the kit, dilute some of the colors, and catch the drips in a basin to re-use. I usually dye a half-and-half mix of adult and child shirts together and end up with 30 from a full kit. Can you dilute the colors? Yes, some are very amenable to dilution. Some of the best looking items I have made are serial dilutions of just a single color. These colors tolerate dilution very well: black, purple, turquoise. These colors tolerate a modest amount of dilution: blue, fuchsia, violet, lime, royal blue. These colors dont dilute well (dont bother trying): red, orange, yellow, teal. I do the dilutions in glass jars and use a plastic funnel to get the dye back into the bottle. Best dye technique. Put the tip of the bottle in contact with the shirt before you squeeze. Put the tip in between the folds. After you think you are finished with the piece, check between the folds to make sure that you dont see white; if you do, go back and dye the insides of the folds. After wrapping in cling-wrap, squeeze the piece--this also reduces excess white. Dye should not be dripping off of the piece or staining your gloves--if so, you are using too much dye. Finishing the piece. The directions on the kit say to wait a couple of hours to let the dye set. This is not a good idea. If you only wait a couple of hours, you will lose most of your dye down the drain and you will be shocked at how light and faded your piece looks. Much better to use the basic principles of chemistry to your advantage: remember, time and concentration drive the reaction forward, so wait as long as you can, and then lay the piece out to dry without washing. I wait a week, then spread the pieces out on the lawn to dry in the sunlight. After that, I run the whole batch through the rinse cycle in the washing machine about 6-8 times (until the water looks clear), then line dry, then wash in a normal wash cycle (with soap). This way, the finished piece comes out almost as dark as when you dyed it. And you can skip the hand-rinsing that you see in a lot of YouTube newbie videos, that is just too painful and there is no advantage to it. Be creative and have fun! There are some very good YouTube videos to teach you how to do this, just hunt around, you will find them.
-
alissavolkov
> 3 daySo far Ive made 3 shirts and I love them ! The colors are very vibrant which is what I was looking for . Ill definitly be able to make a bunch more and you cant beat that price


