
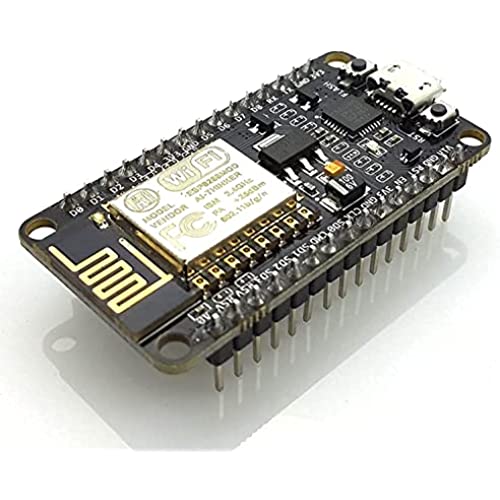
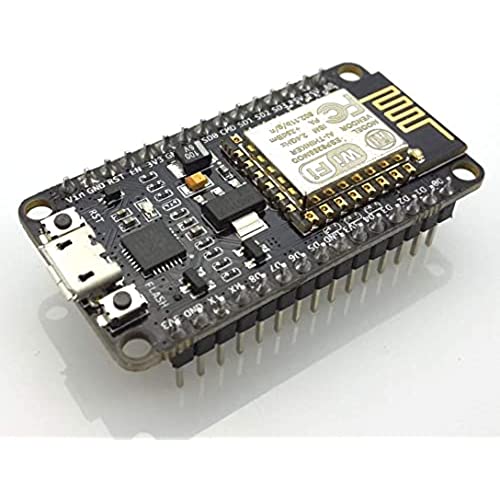

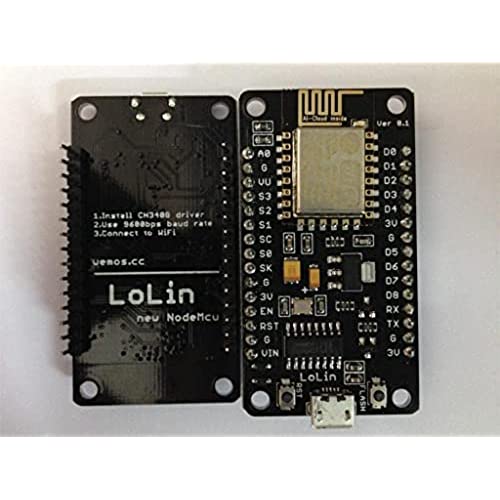
HiLetgo 1PC ESP8266 NodeMCU CP2102 ESP-12E Development Board Open Source Serial Module Works Great for Arduino IDE/Micropython (Small)
-

Kenneth Atchinson
> 3 dayNice product. Works as expected, nice price.
-
CodeStranger
> 3 dayIve only played with this for about 6 hours or so. I skipped the built-in firmware and moved to the MicroPython firmware instead; I wanted to get up and running fast and didnt want to spend the time learning a new language. I may flash it to Arduino if I use it in mission-critical fashion. So I can only speak to the MicroPython side. My current project with this is a data logger for temperature and humidity. It did work out of the box and flashing worked flawlessly. Initial tests indicate everything is ok. One of the header strip pins was bent over from the foam, but not a big deal. One thing I did notice, and havent broken out my iron to fix yet: some of the joints are less than ideal. Most of the header is soldered in well, but some of the joints have some flaws. I couldnt get a good picture, so Im sorry for that. The Rx pin looks like it had been too hot, the Tx pin has insufficient wetting, and the GND near the Rx/TX pins looks like it was disturbed. These are all pretty easy fixes, I just havent gotten to them yet. The problems shouldnt be much of a hurdle for someone with basic soldering skills; it seems like the assembly was rushed. Those are my only complaints, and thats well tempered by the price.
-
Bob Mann
14-06-2025Tried the Link It 7688 and the Microchip RN171 The NodeMCU is the way to go. With the Arduino IDE I had a working custom AP in four hours and that includes downloading then learning to use the IDE . I loaded the built-in example code then copied and pasted from another example then a couple of tweaks followed by a one click download . The other WiFi chip makers need to realize that the IDE is just as important as the chips capabilities.
-
Mrs. Teagan Collier
> 3 dayGood manufacture ,exelent electronic components work fine.
-
Mr. Franz Lubowitz
> 3 daythe best
-
tominiowa
> 3 dayPut temperaturre sensor in Freezer. Working on it sending sms text message if temperature is out of desired range
-
Jason D. Ford
> 3 dayYou cant beat the value of this little board. I built a remote temperature sensor that broadcasts on my home network via wifi.
-
Pierro59lv
> 3 dayReally good to make a wifi jammer or doing a lote of stuff with arduino app, really little and works well, fast delivery
-
John
> 3 dayIm pretty stupid and I had this programming in Arduino in minutes.
-
radio100
Greater than one weekno documentation, no schematic of its use and application. I think it sells itself short by not including these.
