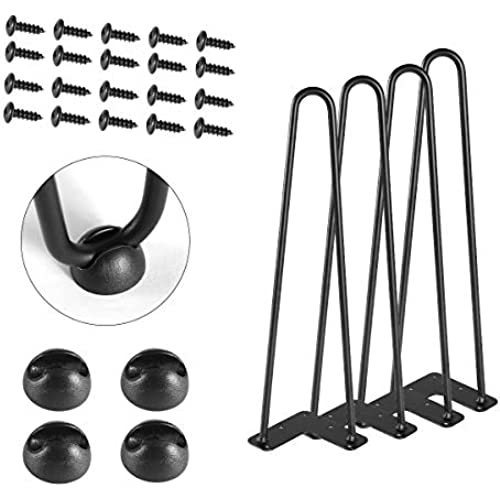
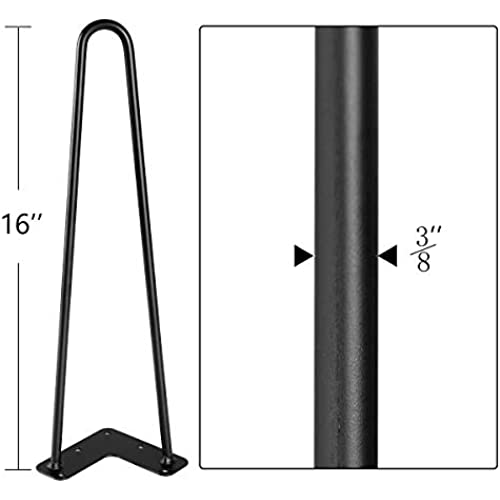
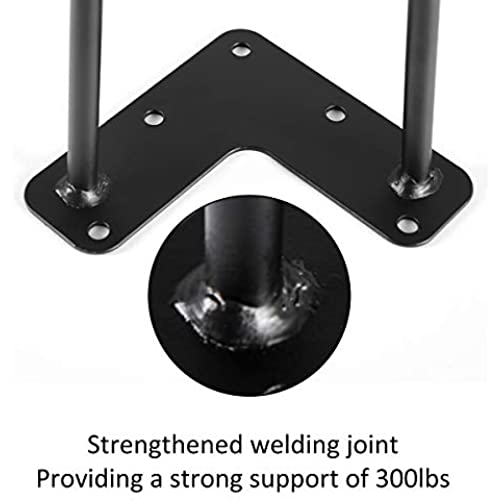
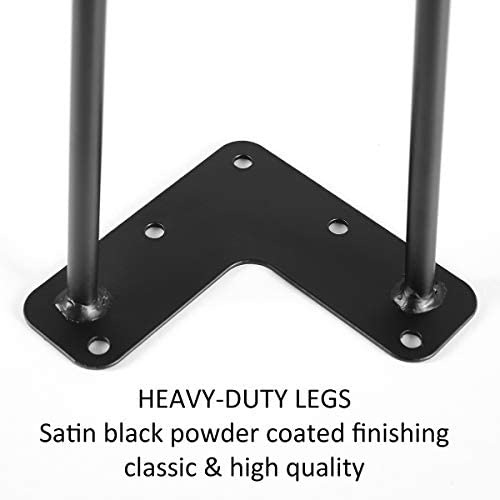


TE DEUM 16 Satin Black Hairpin Coffee Table Legs(Set of 4), Metal Heavy Duty Sturdy Sharp Looking Modern Table Legs …
-

Kimberly B.
> 3 dayWhat a difference the hairpin legs made on my Chester draw. It was sitting on the floor without any legs and once I put the hair pin legs on the furniture it gave it the Mid Century Modern look. It looks great I received lots of compliments on the Chester draw. This product is very sturdy and a great value.
-

Kevin Frazier
> 3 dayDecent legs. I highly recommend the thicker steel. It would be cool if the screws that come with them werent garbage, super soft steel (like maybe a grade 3).
-

Tania Soto
> 3 dayGood
-

SD Boy
> 3 dayFor the 16 legs the screws are thick but not very long - they have a nice flat head but are best used with a square bit on your drill or hand tool you can insert that bit - those complaining they strip are probably trying to use a Phillips head screwdriver - screws made to use both are not ideal - predrill the hole (not too big) and rub some paste or candle wax on the threads they will go in much easier. These size legs without a third prong are not very sturdy but for most applications they probably dont need to be - in my opinion most TVs are mounted too high this is a 60 inch - your gaze is straightforward without having to cock your head awkwardly. The angle of the legs are not very severe - these are spaced only 1/2 inch from the edge which seems about right for this table. Im satisfied with the result and see many applications for these various size legs and the price is hard to beat.
-

Abby
> 3 dayI don’t think the screws are the size listed so if you’re drilling pilot holes beware. The screws also strip easily pretty easily. They hold up alright and they look great so it’s worth your money for sure.
-

Huberoy123
> 3 dayThis product was perfect for my fire pit heat deflector project. Wife complained that our fire pit wasnt putting out enough heat. The ready-made deflectors were too costly, so I made one from an outdoor gas heater deflector ($40) and these legs. Saved a lot of money. The legs were very sturdy. Good product.
-

Ashleigh Palmer
> 3 dayAs long as you mount them on your table slab correctly these legs are excellent. Easy to install and light weight. Cut, painted and built a coffee table in 3 hours total. The legs were the easiest part. You should space/place the outer edge of the metal plate AT LEAST 1.25 inches inward for each leg no matter what you’re building, so the legs can perform best carrying the weight of your project.
-

HYO
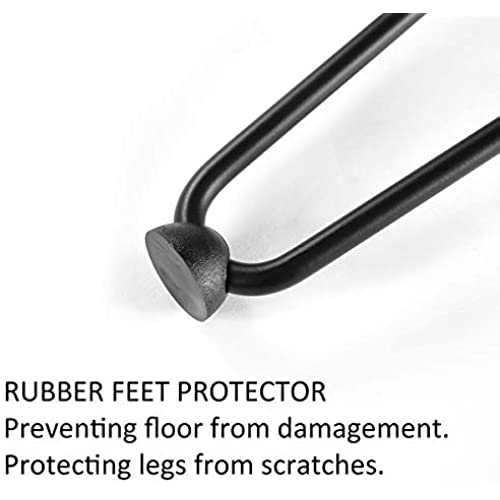
Greater than one weekThey are very nice and came with everything I needed (perfect size screws for a 3/4” table top & 4 floor protectors) I give it 4 stars because I think it is overpriced since paint was chipping off in certain spots, while I was expecting perfect quality for the price. I wanted to order one more because I think they have fastest delivery, but they increased the price $5! I think buying cheaper legs and screws and floor protectors separately will give same results for a much cheaper price. However, I might wait a bit longer to receive them. I found same legs at walmart for $41 but delivery is on 09/23/2020.
-

Jared
Greater than one weekUsed these on a gifted record player stand. They are good quality and worked great.
-

Sanket Shitanshu
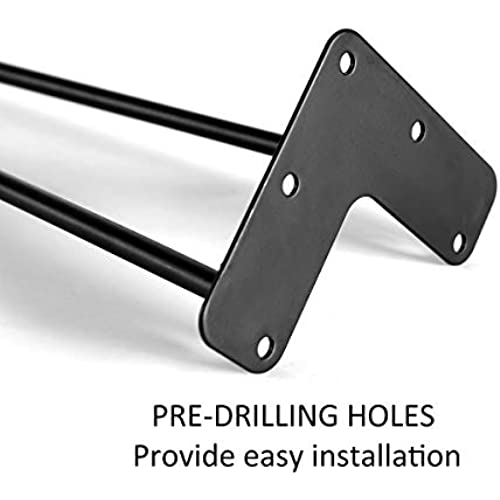
> 3 dayGive a great look to coffee table. Good fikish on the product. Screw can be better and drilling few screws are dificuly due to angle of legs. There are 5 holes but if you drill only 3 that will also enough. Plastic cover for leg bags is bit loose .
