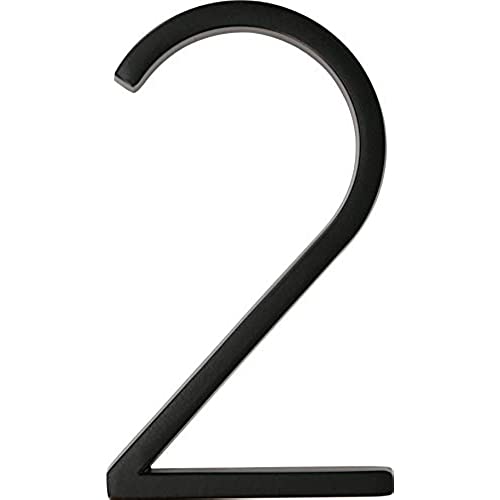
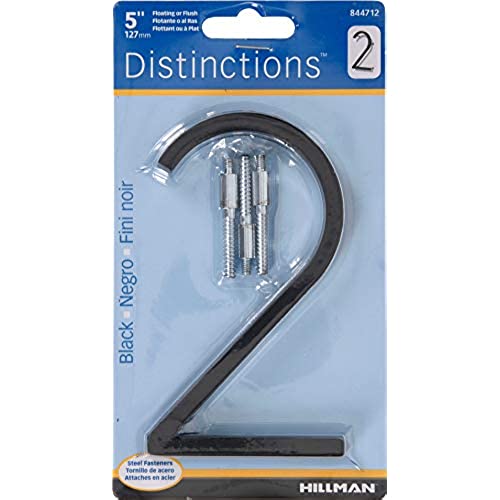
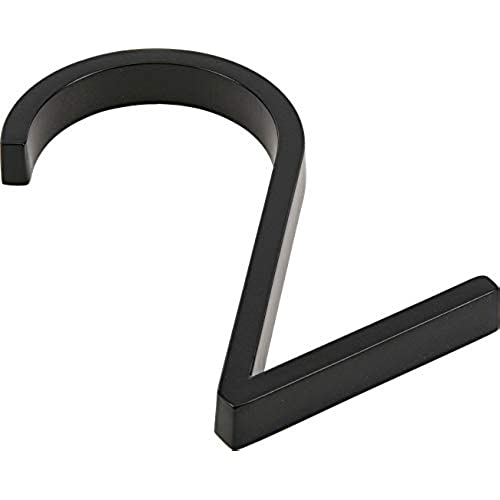


Distinctions 844712 Upgraded 5 Black 5 Floating House Number 2
-

Isabelle Will Sr.
> 3 dayI liked the number graphic and instructions. These were used for our House Address.
-

Rich
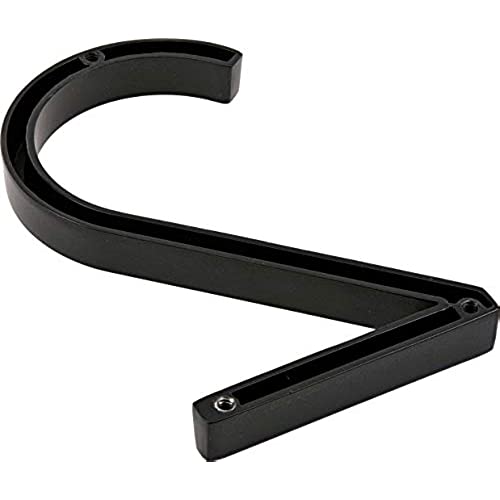
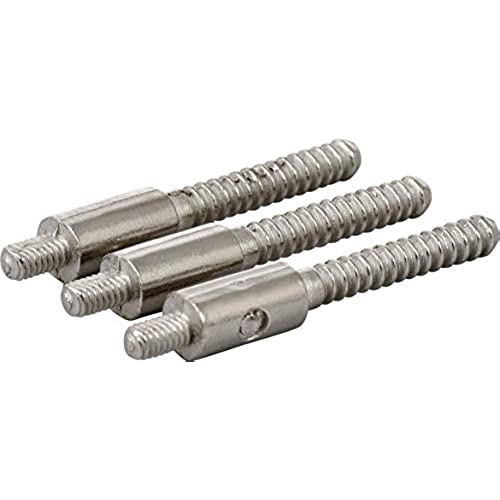
> 3 dayIts nice, but it came with low quality pieces to float-attach it to what youd like, and one broke during installation. Im a handy guy and know what Im doing, I wasnt careless. Still, it gets 4 stars because the number itself is a nice piece. The little hole you can see in the first picture is where the piece that broke would have gone. Even though that happened, Id still buy again.
-

cb
> 3 dayStylish and modern. Made to last. My neighbors all want me to build their mailbox now!
-

adreger
17-04-2025I did not end up keeping these. But actually have used this brand/style before & love them. Just wanted to warn other potential customers that not all numbers are free returns and therefore return via different services.
-

brightnight
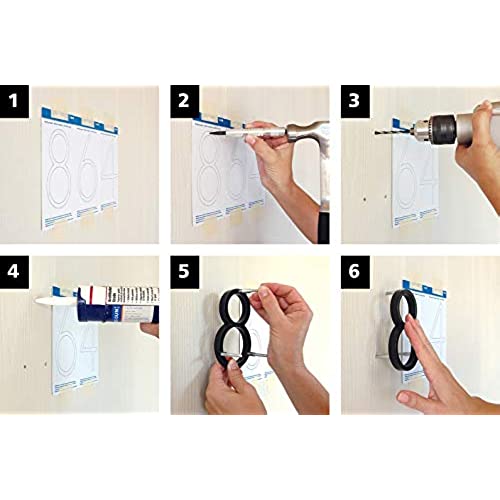
Greater than one weekIve read a lot of reviews about these over the years and the consensus was that they were cheap and the mounting bolts were crooked and the instructions were bad. This review is written 11/2020 and I can reassure people that those issues are no longer a problem. I ordered 4 numbers...each of them were solidly made, the mounting bolts screwed in easily (do it by hand, of course) and the installation was fairly easy. Go by the instructions in terms of how to install. Earlier reviews said to ignore those instructions but they are more substantial now and the size of the drill bit you need to use is 100% accurate (earlier versions had smaller bolts and said to use 1/8 bit...only use that if you want to drill pilot holes). The proper size of drill bit to use is 5/16 Wiggle it around a bit as you go in and out to give yourself a little room. the 5/16 bit drills a hole that is SNUG but thats what you want with these. I didnt even have to use any kind of adhesive gel/silicone to keep them in. STILL DO NOT USE THE HOLES MARKED ON THE TEMPLATE. As others have suggested, place your number over the template (bolts down on the paper) and mark where those bolts hit with a marker or pen. That way, you know exactly where those bolts will hit for the drill holes. Tape up your templates with a level and ruler so they are even and straight, then use your punch to hammer in the marks where your bolts hit on the template. Give it a good pop for each one and then take the numbers down. Drill your holes and give it a little action as the drill goes in and as it goes out. Youll find that the fit is still tight but accurate. At that point, I went from one number to the next, just getting the bolts in place with the holes and then tapped them each in by putting a cloth over each number and using a rubber mallet to tap each bolt area of each number. Voila. Quick and easy and accurate. Took me about 15 minutes to install 4 numbers and again, I didnt need to use any epoxy or silicone to keep them in. Theyre snug and solid (I installed into wood so if youre going into masonry or brick, make sure youre using a masonry bit. The rubber mallet is the secret weapon here...you can get some pressure on the installation process without damaging the numbers or bending them. Just be sure to cover them with a wash cloth or something so you dont leave any marks. Overall very happy with these and the process itself. Even a novice could do it. Just take your time marking the templates with the bolts, take your time getting the templates level and the numbers spaced properly and youll be good to go.
-

rafael fernandez
> 3 dayThey look great buuut, do yourself a favor and get an 3/16 drill bit and just mount the screws to the numbers. Then get yourself a piece of 1x6 wood and place it over the number and just hit it untill the screws are in all the way. Thr 3/16 hole allows you to push it and fit pretty snug
-

Tirkish
> 3 dayLots of feedback and reviews complaining about the mounting hardware. Agreed that they are poorly made and flimsy, but for what they were designed to do - they work perfectly. Heres the trick... DO NOT tighten the mounting posts onto the numbers with a wrench. They WILL snap. Simply hand tighten along with adding a small drop of Loc-Tite or similar thread locker. Dont have that around, Krazy Glue or other CA glue will do the trick. This may not be all that necessary, because once the numbers are installed, there is no way to unscrew the posts when properly mounted into your wall. Drill the holes as described by the instructions, but before you do, mount your posts into the numbers and hold the numbers against each template. Manufacturing precision here isnt great, so mark where the posts actually hit on the template, rather than assuming the templates are correct. Your final 1/4 holes are large enough so that the posts will slide into the holes without any issue. If youre forcing these into your holes, go bigger. Then - caulk as instructed for a perfect mount.
-

Brittany
> 3 dayIve tried four 5s and none will screw in by hand. I did not have this issue with the other numbers. This is incredibly aggravating. One out of the four, I was able to screw in with tweezers and it was straight. The others either broke off or were crooked. Quality control!
-

Chelle
> 3 dayMade my parents an address sign for their house using these numbers. The included template aligns perfectly and makes for easy install. The numbers can be mounted elevated or flush against whatever youre putting them on with the included hardware. The finish is a nice looking matte black. All I n all I think they look great and the installation is easy peasy with the included template and instructions.
