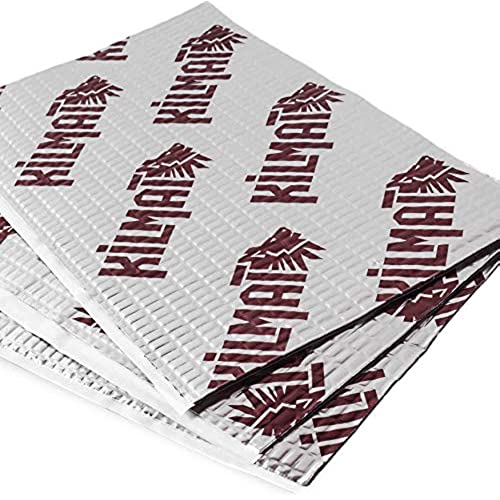
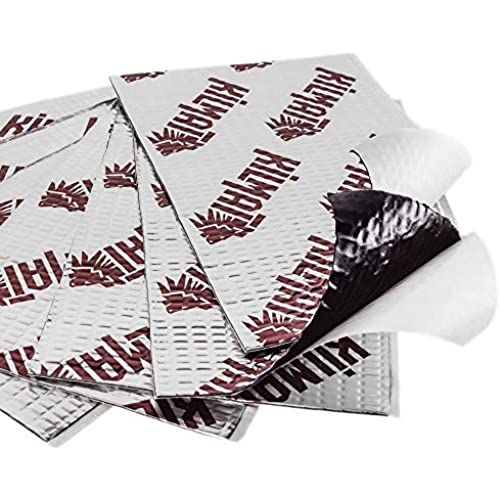
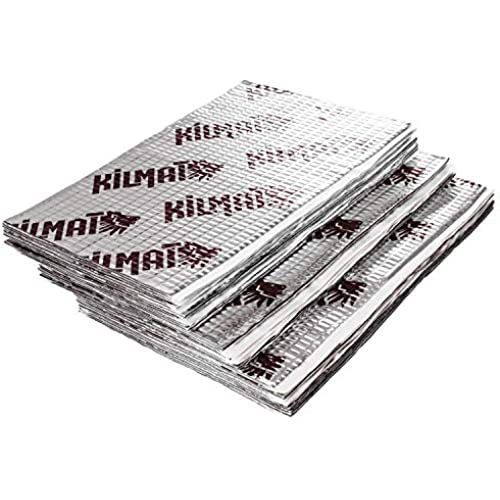
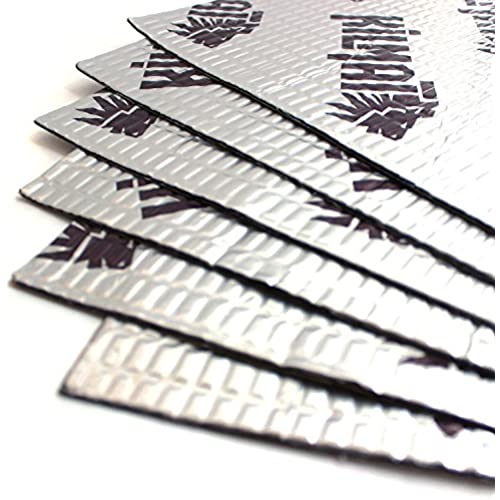
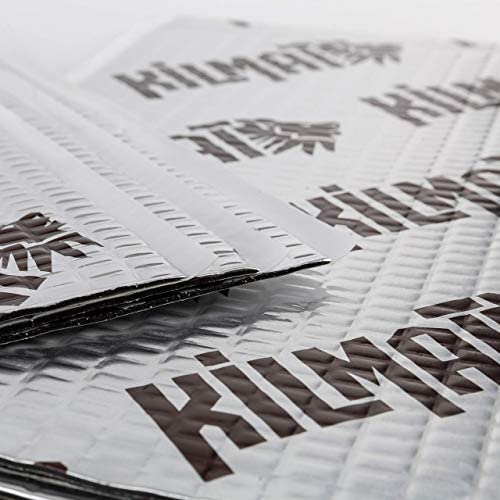
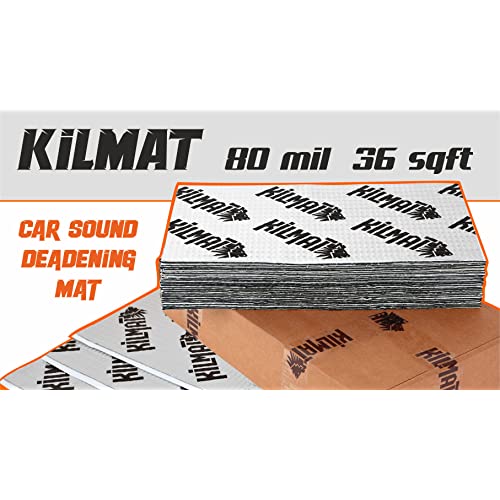


KILMAT 80 mil 36 sqft Car Sound Deadening Mat, Butyl Automotive Sound Deadener, Audio Noise Insulation and dampening
-
Master P
> 3 dayEasy to apply and I will recommend it to anyone it does the job and no more rattle thank you kilmat mp
-
Hereyago17
06-04-2025Before purchasing, I researched several manufacturers of Sound Deadening material. I drive a truck with off-road tires and enjoy quality sound from my radio without road noise interference. All of the leading manufacturers of sound deadening material use butyl rubber in various thicknesses. I bought the .80 ml thickness from Kilmat because of the positive reviews and the price. I installed the Kilmat material in all four doors and on the back firewall. While I don’t have a decibel meter to provide firm data, the decrease in road and tire noise after installation was noticeable and, in fact, I would say surprising and significant. I definitely enjoy driving on the highway more in a quiet vehicle. My guess is that it decreased road noise level by 30% or perhaps more. The key is to buy enough material to line the “inside” metal skin of your “outer” door as shown in the photos. In summary, the purchase was well worth the effort and cost.
-
W. King
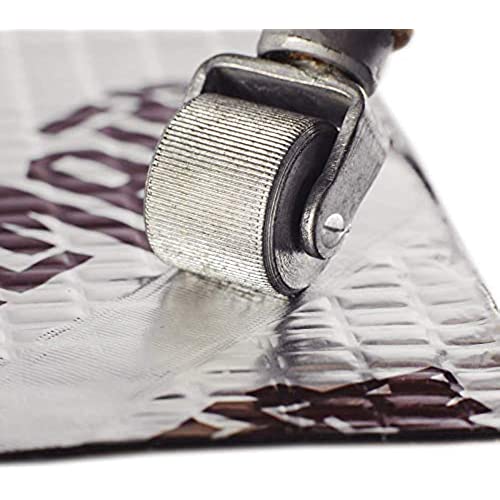
> 3 dayIve done all sorts of upgrades/enhancements to my cars over the years, and installing sound deadener has been the most transformative. Sure, upgrading the stereo/amp/speakers all at once is hugely transformative, but its also expected to make a huge difference. The reason I say sound deadener is more transformative is that it improved things in many unexpected ways, on top of the expected reduction in road & mechanical noise. Background on my vehicle: - Medium sized pickup truck with extended cab - 2006 but only 40,000 miles, so enough miles to develop some rattles - 4 doors (2 normal, 2 smaller) - Smaller doors provide access to extended area for storage or jump seats I took the driver/passenger and jump seats out but only moved the carpeting out of the way vs fully removing. This, and because I didnt remove the center console, meant that I was able to cover the sides of the drivetrain well but not the top . In my truck, most of the mechanical noise comes from the engine, not the drivetrain. What I covered with 72 sq ft of 80 mil mats (i.e. purchased 2 boxes of 36 sq ft): - 4 doors - Rear of extended cab (area facing bed) down to the floor - Ceiling - Driver/passenger footwell up thru firewall - 3-4 wide area running between seats and doors from front to back - 2/3 of area below drivers seat (was too lazy to remove passenger seat again just to apply a single sheet) - 1 sheet of mat leftover I was very thorough. I removed the speakers in the doors and covered the area behind them (I also installed speaker baffles, which improve the sound quality and provide some sound deadening qualities). The rear doors have built-in pocket storage areas so I ended up covering the exterior metal panels of the doors and the some of the interior metal panels. Maybe overkill, but those doors were also the source for a lot of road noise. Expected improvement: significant reduction of road and engine noise. This stuff delivered the goods. My 9 y/o immediately noticed the difference and said something before I could tell her I was done. And this was on city streets, so not even highway. Its that noticeable. Hands-free phone calls, music, talk radio, you name it, all sound much cleaner, crisper and without having to crank it up as much. Unexpected improvements: - Doors close with a more solid feel - Near silence when going over potholes and changes in pavement - Sensation of that I installed a new, more sophisticated suspension because everything feels tighter and smoother All in all, money well and one weekend well spent. Installation tips: - Run a small heater if installing in temps below 60 degrees. The mats will adhere better. - Buy the metal rollers to make sure the mats are completely flat and fully adhered. - Before removing the paper backing, put the mat into the desired location and press hard on the areas that need to be accessible (screw holes, wiring, etc) to create an impression. Then use exacto knife or razor blade to make the opening marked by the impression. Be sure to double check all access points twice so you dont find yourself all ready to put everything back together and you have to find the one you covered. For rubber gasket access points, I cut a path around the edges so you can remove the gasket, but theres still mat on the bulk (center) of the gasket.