
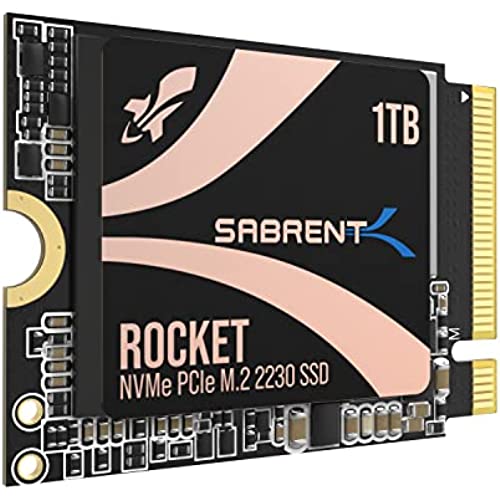

SABRENT Rocket 2230 NVMe 4.0 1TB High Performance PCIe 4.0 M.2 2230 SSD [SB-2130-1TB]
-

Sumit
> 3 dayThe packaging of this product is really good. The first shipment was lost so they shipped me a second one. It comes in a compact metal box, which is not much bigger than the SSD itself. Very well protected for shipping. The overall performance of the SSD is excellent, but I would expect it for the price it comes in and the brand. It will be a spare one for me at this time since I already have another M.2 SSD installed on my lenovo. Initial tests indicate its high performance. Overall love it. PS I have a mini-PC and will install it there soon.
-
Aech
> 3 dayBought a 64GB steamdeck, popped in this 1TB drive, and it works great! no more uninstalling fames to make room for other games.
-
T
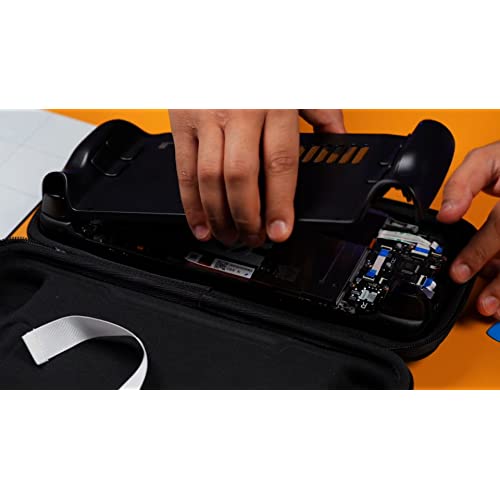
> 3 dayBought this to upgrade internal storage on the lowest cost steam deck. Installation was a breeze, and after following instructions to re-flash the OS, had 1TB of storage. Easy install, just be careful when removing the battery cable to not short out whatever tool youre using against the motherboard. I would suggest using something plastic with a sharp, thin tip to ease out the battery plug.
-
Joe
> 3 dayBought this powerful lil SSD to upgrade the internal SSD on my base model (64GB) Steam Deck. Sabrent even created an instructional Youtube video for installing this SSD into your Deck! Its a high quality video with easy to follow visual instructions. The SSD itself is incredible! The high speeds and 1TB of space lets me install any game I want, in addition to fast load times!
-
Cody B.
> 3 dayPretty good SSD for the steam deck. Good price and it does what it just designed to do. Gave me a lot more space on my system overall and I can install way more games than you could on a 512 GB SSD. Definitely worth the buy pretty good brand too.
-
Nathaniel Bonini
> 3 dayThe install process was a nightmare of cloning the pre-installed drive with the correct power settings. The install also required an external drive case. Once installed, everything seemed to work except when the device went to sleep. Without fail it rebooted. In addition, at times but not very often, the machine would reboot itself. Overall, I think this is probably a great drive (it is so small I cant put it in my desktop without an adapter) but it did not work for my Surface Pro 8.
-
Leandro Silva Dias
> 3 dayJust order one that came a way early than expected. I received in a perfect condition, in a metal box with project foam carved around the ssd, so... free of damage. Installed in my 64gb Steam deck using the product video as reference. Everything works fine! Now I got a 1tb steam deck that was cheaper than a 512gb version.
-
James Scott Dinan
Greater than one weekbought for Alienware m18r1 . Alienware manual says max is 512gb per slot? so I went bigger? easy to install. worked as advertised. widows recognized and installed with no problem. Full drive amount works great with steam! win win! ordered another one..lol great transfer speeds also..
-
David Bass
Greater than one weekBought this for my Steam Deck, installing it was pretty straight forward. And working great! Definitely recommend for Sabrent if you need an nvme drive. Note: first one came DOA, and was replaced quickly, no issues since.
-
aznsensation_01
> 3 dayDeck has 1TB ssd now. Reimagine process took longer than the actual physical install. I didn’t have a setup to clone the SSDs. Don’t freak when the Deck boots up from the reimage. Only my touchscreen was working. None of the buttons worked before an update occurred. After the reimage, an update occurre, everything worked! Time will tell how much faster the SSD is. I think I’m limited by the deck’s SSD bus.


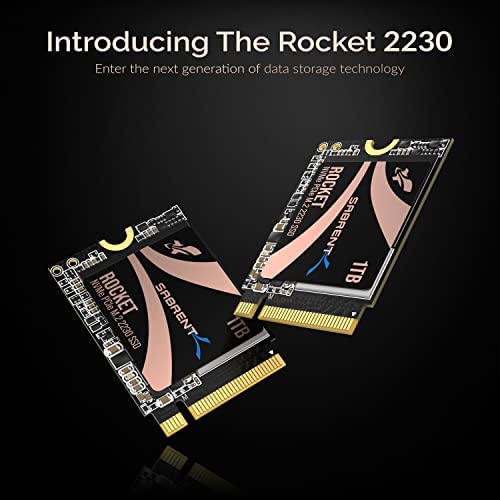
SABRENT Rocket 2242 / 2230 NVMe SSD M.2
 ROCKET 2230 NVME 4.0 1TB |  ROCKET 2230 NVME 4.0 512G |  ROCKET 2230 NVME 4.0 256G |  ROCKET 2242 NVME 2TB |  ROCKET 2242 NVME 1TB |  ROCKET 2242 NVME 512GB | |
|
SIZE
| 2230 (30X22mm) | 2230 (30X22mm) | 2230 (30X22mm) | 2242 (42X22mm) | 2242 (42X22mm) | 2242 (42X22mm) |
|
DIGITAL STORAGE CAPACITY
| 1TB | 512GB | 256GB | 2TB | 1TB | 512GB |
|
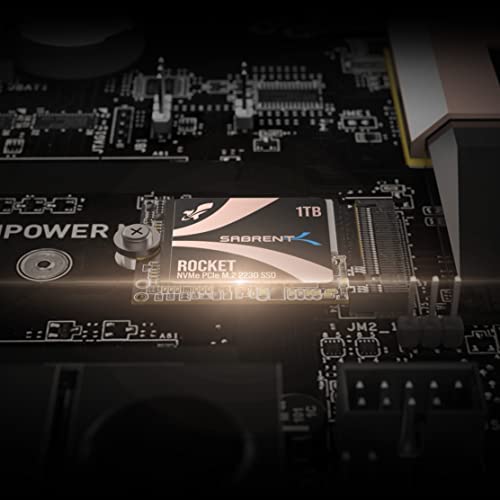
COMPATIBLE WITH STEAM DECK
| ✔ | ✔ | ✔ | ✘ | ✘ | ✘ |
|
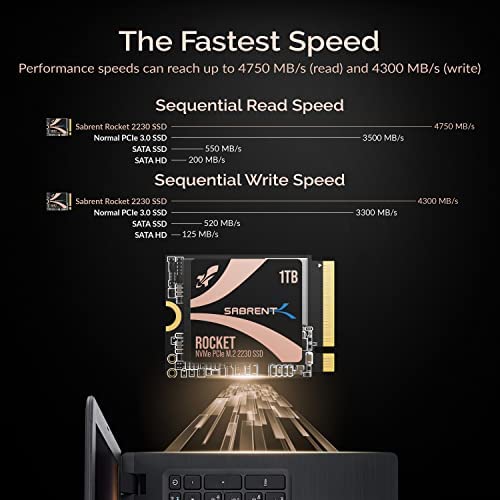
READ SPEED
| 4750 MB/s | 4750 MB/s | 4750 MB/s | 1700 MB/s | 1700 MB/s | 1700 MB/s |
|
WRITE SPEED
| 4300 MB/s | 4300 MB/s | 4300 MB/s | 1550 MB/s | 1550 MB/s | 1550 MB/s |