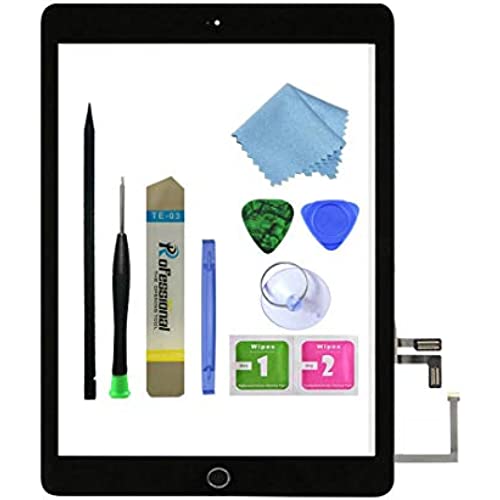

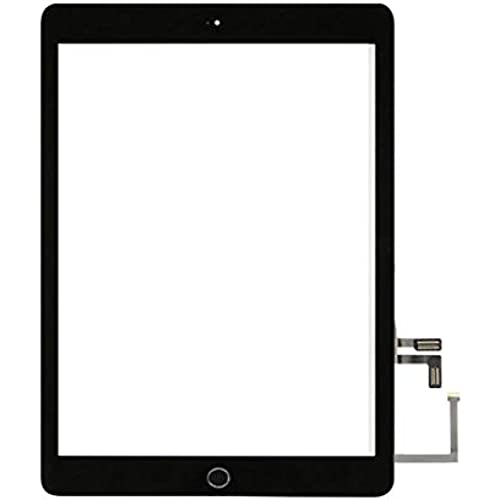
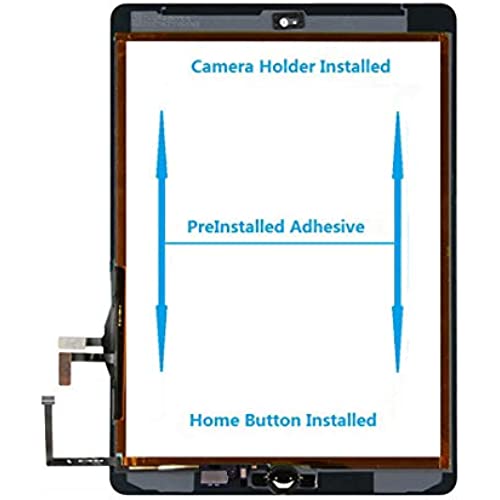



Zentop for Black iPad 5 2017 9.7 inch (A1822, A1823) Touch Screen Digitizer Assembly Replacement with Home Button, Camera Bracket, Pre-Installed Adhesive, Tool Repair Kit
-

Andy
> 3 dayAs Described
-

Marc H.
> 3 dayNot to hard to instal. Screen is horrible because it just holds all the crap from your hands and is impossible to keep clean. Also it fell of the table just 1 day after I got it with a thick rubber case and cracked. It’s a very cheap replacement and I would not really recommend.
-

Customer
> 3 daydid not work
-

Jeremy
> 3 dayThe screen doesn’t stick and it touch ID doesn’t work and the screen fell off the first day I used it
-

Ms. Verlie Fisher
> 3 dayEverything fit well. The adhesive tape is questionable....bottom right side didnt stick well. Everything worked well for a couple of weeks, not sure what went wrong, maybe issue with the digitizer. Touch began jumping all over the place, until random clicks started happening.....became absolutely useless. Will look for a pricier one to hope I get what I pay for.....
-

Jonathan Evers
> 3 dayItem arrived in good condition, but the adhesive glue is terrible- I have been constantly propping the screen back into the ipad for the past 2 months. This week, the home button randomly stopped working, so I can no longer get past the home screen. Would not purchase again.
-

Strat
> 3 dayI’ve fixed my IPad 5th gen three times now. I’m sure user error is the real culprit but this screen is the first to adhere well and have everything working correctly. This is a nontouch home button so you won’t get the fingerprint reader like the original but for the price vs the repair in shop it’s worth it. I finally added a sturdy case to make this a foreverfix
-

James Winston Starkey
> 3 dayI purchased this product twice, easy to install, however way too fragile. I have my ipad in an armor case, it dropped last night from my desk to my carpeted wooden floor and the screen cracked again.
-

Kevin
> 3 dayNice product, came with all the necessary tools except for directions??? Had to go online and find directions...., Makes it difficult to do without them.
-

Papa Doc
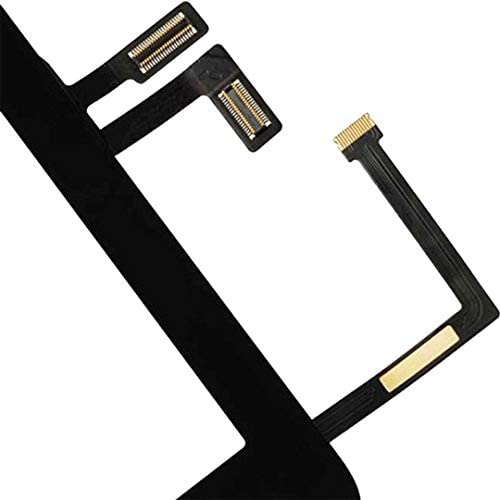
> 3 dayNever done this before. Tips: Don’t panic when you get a box with ZERO instructions, not even a website reference. I guess they figure if you can’t figure out how to use what has been shipped then you don’t need to be attempting this repair. Don’t panic - YouTube has your back, after watching a few different videos you will find this is an excellent kit. The tools supplied are perfect, especially the metal bar, and the black pick and push stick. Key things to pay particularly close attention too that doesn’t get addressed in videos is reattaching the glass flat cables. You just have to make sure the two cables that push in are aligned before pushing them down and set, just use fingertip to apply pressure till they seat. The third cable make sure the clasp is open and use pusher to seat it under the clamp, I had to push it a little to get it under the clamp. To clean the old adhesive I used acetone, goo gone, t-shirt swatches and the metal and plastic pick. Once completely clean, the new one stuck just wonderfully, looks factory. Be sure before you stick the glass the cable slack at the hinge point is tucked and doesn’t get pinched between the case groove and the glass. When sticking the glass concentrate on the button alignment and not pinching the glass cables and the rest of it will fall right in place. After completing it I realized the kit is great. Having the pre applied adhesive is so much easier and with this kit you can ignore the button removal from the old one, also nice. Update: I have found the fingerprint recognition doesn’t work with this new button. Everything else seems fins so far.
