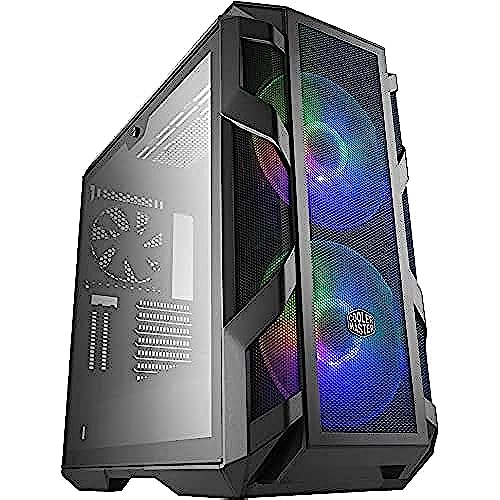


Cooler Master MasterCase H500M ARGB Airflow ATX Mid-Tower with Quad Tempered Glass Panels, Dual 200mm Customizable ARGB Lighting Fans, Type-C I/O Panel, and Vertical GPU Slots (MCM-H500M-IHNN-S00)
-

kybeau
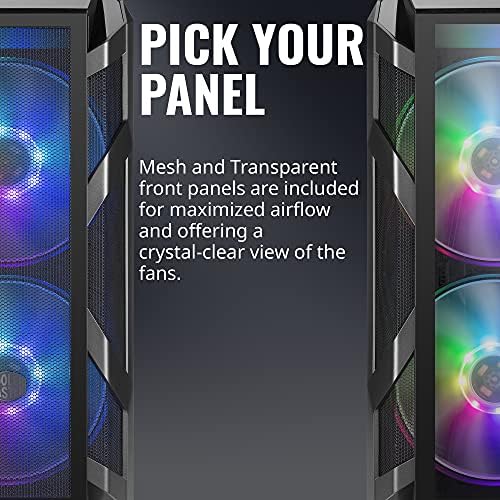
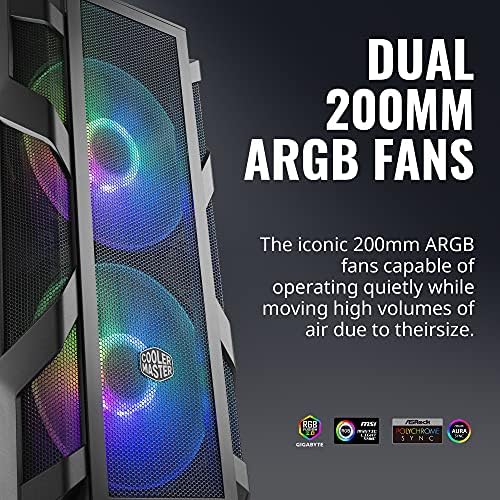
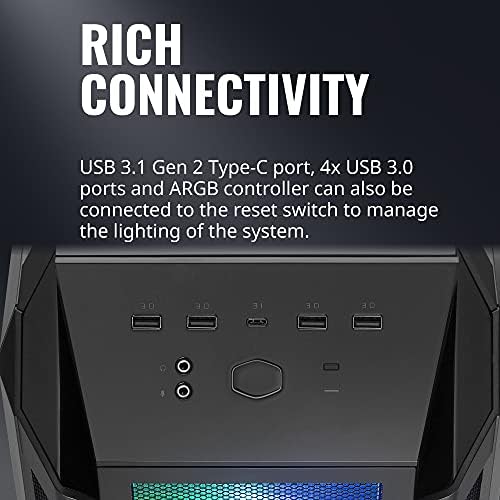
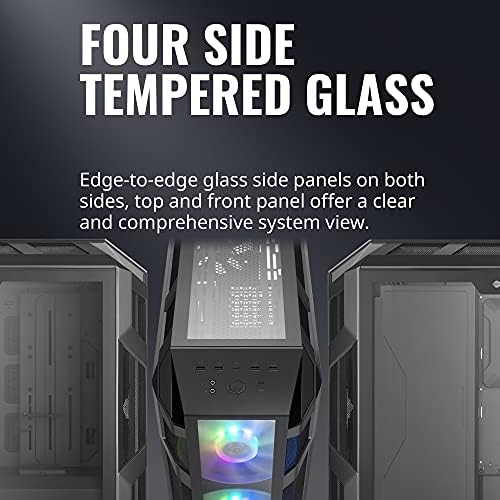
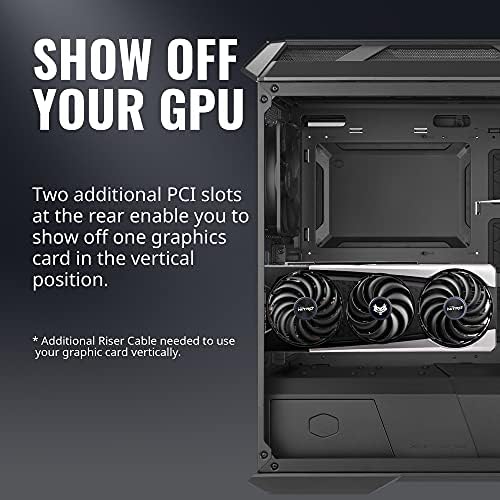
> 3 dayIm a fan girl of NZXTs towers and was planning another NZXT-based build. I decided, however, to try something new, something that would be different from my regular builds. Cue in this Cooler Master H500. It has been nothing short of amazing. If youd like the short and sweet bulleted points, then just read this part, otherwise Ive written a lot of information. - a total of up to x6 (if solely using) 120mm fans, x4 (if solely using) 140mm fans, or x3 (if solely using) 200mm fans - a front mesh panel that captures dust; there is also an optional acrylic panel that can be used instead if preferred (more on this later) - tempered glass panel that has two screws that cannot be taken off (so its no longer easy to misplace). The glass panel also has hinges at the bottom so it wont accidentally fall and shatter, etc - supports ATX, mATX, or miniATX builds - has x2 M.2 slots, x2 3.5 hard drive bays (an additional mount can be purchased to support 4 more), and x4 2.5 SSD bays. 2 SSDs can be mounted on the right side of the case with little plugs, therefore offering a tool-less assembly). The HDD drive bay can also be removed if you just plan on only using the 2 SSD mounts - in regards to cable management, there is a vertical bar with rubberized routing holes. This is removable if you prefer a more spacious build - x2 200mm CoolerMaster MasterFan 200R RGB fans installed in the front panel and 1 generic 120mm fan - a removable PSU cover - 3 dust filter covers (for the top, front and bottom of the case) - a vertical GPU mount (riser cable not included) - multiple zip ties in order to manage the cables inside (among other small things) So, I wont be able to touch on everything, as I dont use the vertical GPU mount for starters, but I can give insight on other aspects. First off, this case comes with many fan placement options. For reference, I have x2 120mm fans up top, x1 120mm fan in the back, and x2 200mm fans up front. I currently have Corsair SP LL120 RGBs and they work great paired with the CoolerMaster fans. Side note, if you are in the market for the Corsair SP LL120 RGBs and would like it to pulse, breath, or mimic the 200mm fans, then youll need to purchase the CORSAIR iCUE Commander PRO Controller. Anyway, the case does come with a handy magnetic dust filter for the top of the case (fan area). 1 month later and I can tell that it is definitely doing its job. The front of the case has another mesh like structure and this allows for better airflow throughout the case. My build has been averaging 25-30C on idle with a max of 50C on high detailed games. Now, I have tried the acrylic panel and found that my temperatures, unsurprisingly, do go up: 30-45C on idle and 50-65C on load. Its not terrible temps but, while the acrylic does look cleaner, keep in mind that youre swapping temperatures for aesthetics. The side tempered glass panel is another nice aspect of the H500. Its not clear like NZXTs line, but I would say its around 40-50% tint, perhaps even 30%. Its definitely on the dark side. I didnt realise how tinted it would be, but it honestly looks amazing. Due to the heavier tint, the cables inside are pretty much invisible and the RGB/lightning looks like its coming through the darkness. Honestly, it looks great and is definitely something I didnt know I wanted for my build. The x2 200mm fan does deserve a mention as well, but this ones not as positive. It could be the lack of experience with RGB fans, but the cables were confusing as heck to pair with respective wires. Ive didnt even spend as much time on the rest of the build combined compared to the fan wires themselves. Im not going to lie when I say I cried a little out of frustration. The instructions arent very helpful. If I remember correctly, the RGB cables were pinned into cables that were unnecessary towards the whole build. Figuring out that cable was not necessary took an amazingly stupid amount of time. After taking out the unnecessary cables and then figuring out the appropriate ones, it was smooth sailing after that. Im not sure why its become the new standard, but pictorial instructions are ridiculous. I can only imagine how difficult it would be for someone just starting out. Cable management wise, theres really not much to say. Its superb and theres nothing difficult about it. Youll definitely need more zip ties than provided if you want a cleaner look. Also, the provided ties are surprisingly very thin so may snap easily if you stress it enough. There are notches on the cable side of the tower that allow you to zip tie cables on. Make sure to not zip tie in the panel grooves though. The rubberized routing holes and removable vertical bar is also appreciated. Some small thing that dont really detract but should be mentioned: if youre not going to fill the inside of this case, then be prepared to hear A LOT of air being pushed around. I have a lot of open space and it does sound cavernous. Also, this case is very much on the heavy side. It weighs a whopping 23.2lbs, maybe 30lbs+ after all the components are installed, compared to NZXTs 17.9lbs. If youve stuck it out and read through my long speech, then in short I highly recommend this case. Ive been very pleased with it and Im glad I took a chance. Like a lot of people have been saying, dont go for any other H500 (for example, H500P or H500M). Just stick with the H500-NO SUFFIX. It is Cooler Masters best - as of right now - and pretty much offers everything required for a high end build. This is a great starter case, offering excellent airflow and enough space to experiment around with. You wont be disappointed.
-

Alexander Torres
Greater than one weekThe package was quite large when it came in and the instructions were perfect. I really enjoyed the tool-less approach taken for most of the build. I would say I needed a screwdriver for about 3-4 screws. The units sits cool and quite and rarely peeks over 50c with a 12th Gen. Admittedly it’s a bit pricey but exactly what I wanted for the possibility of a future water cooled project but for now my AIO works perfectly!
-

Hiker Dude
> 3 dayI did a lot of research for this build and I wasnt disappointed with this case. Easy unboxing, simple directions, lots of room for tall brick coolers like the Nactua or Be Quiet Dark Rock (dry fit pic for brick cooler. 6 mm to spare before glass ). So many options for fan sizes, liquid coolers and locations. Did I say this thing looks great?! This was more like a gift from the hearts of the Cooler Master designers than a purchase. It breathes big and thats why I went with it. If youre thinking of over clocking, please Youtube for the stats and reviews. youll see very good numbers just with the stock fan set up. There are so many features to talk about that are great and you really should check out the reviews but, I do have one issue. This cant be blamed on Cooler Master, after all, the price is so well worth it. The fans are RGB but they arent PWM 4pin, meaning, they do not regulate speed like the CPU coolers do. Your mother board more than likely supports PWM fan regulation so, maybe that is something you would think about as an upgrade. 200 mm RGB PWM 4pin fans are more expensive and wouldnt easily pushed the price up for this case. Regardless, its still pretty quite as it is. Im so pleased with this choice and already thinking of a new build around another one of these cases. Do your research, find out for yourself and enjoy.
-

Jacob Solo
> 3 dayUSB Ports were good the first year and a half, ever since then I’ve been dealing with on and off ports that would heat up for some random reason and then on top of that would cause the PC to freeze for a second everytime I had my controller plugged in and was playing a fast paced game. It wouldn’t really happen playing casual games or casually playing. I play Bluetooth now, but even then, the Bluetooth devices are faulty now too, and I feel like it’s also due to the ports maybe causing the Bluetooth drives to overheat and probably malfunction. Now my controller won’t stay connected to the computer even if it’s fully charged. It will connect for a few seconds and then disconnect immediately.
-

C. Bender
> 3 dayMy son and I built two PCs together recently -- a first for both of us -- and I picked out this case primarily because its got great airflow, super-large fans (so they dont have to spin so fast and, thus, are quieter), and a handle for easy transportation. What I didnt expect was the evident quality of the case, particularly in comparison to the case my son picked out, and I didnt expect to even like the RGB lighting (which I considered leaving unconnected). Im pleasantly surprised, and Id buy this one again in a heartbeat. My only complaint is that the RGB lighting cannot be controlled by our Gigabyte motherboard (which has a four pin connector) and must be controlled by the (included) controller that came with the case. Practically, that means that the case lighting is controlled differently than my CPU cooler lighting, so if color harmony is important to you, best to choose another case (and buy a case made by the same company as your CPU cooler). For me, this case was great purchase. Super-happy.
-

Aiden
> 3 dayOne of the best cases I’ve ever used.
-

Darren Loftin
> 3 dayI could see where others have a problem setting up the RGB, Luckily my x570 has connections for it. Its quite large so space may be an issue for some. I originally had a Cooler Master H500 with a ml240r AIO (3700X). I swapped to the H500M with a ML360 AIO. Didnt see a drastic temp change at idle, but under load it dropped around 8-10C. The biggest difference was the GPU temp. Id average 75C playing BFV on ultra. (Red Devil 5700XT) After the case and AIO swap, Im seeing 65C max. Junction temp stays around 80C. I didnt change any fan settings, but I do have it set to 100% when it hits 55C. Cable management is easy enough. Not near as many tie down points as the H500, but there are 3 large covers on the backside. There are 0 cables exposed on the backside of my case. TLDR CPU and GPU temps dropped a lot. Easy cable management. Lot of screws to remove to fully disassemble. Overall, 10/10 would recommend.
-

khum
> 3 dayLo suficientemente grande como para una 4090 y bonito
-

Mike
> 3 dayMy core reason for purchasing the H500M was to improve my airflow situation. I was previously using a Deep Silence 3, a case that was focused more on reducing noise than cooling. I didnt add any additional fans or coolers to the H500M Happy to report that it was a success. My 3800x idle temp went from 45°C - 60°C down to 35°C to 45°C. Gaming temp dropped from 75°C - 85°C down to 55°C to 65°C. Thats just using the stock Wraith for cooling in both setups. I also saw a 7°C drop on my Sabrent NVMe drive when idle & a 10°C drop when gaming. The only thing that didnt change much was my 970 GPU. it does have a 5°C lower idle, likely due to lower overall case temps. At full load, its still hitting 75°C to 80°C, same as before. But the good news is that temps of the other parts are staying low when the GPU is at full load.. Overall, the build was pretty simple. The entire swap took about 45 minutes, much of which was cable management. I may end up adding an AIO or more fans at the top of the case, but Im pretty happy with the results thus far.
-

LARRY PARKER
Greater than one weekThis case is the best out of the CoolerMaster 500 series but I found airflow works best with the 200mm fans on top and DO NOT hook 200 mm fans up to the same hub as all the other fans otherwise all fans will have max speed at 800 RPM. I have 200mm fans into a 2-1 splitter right to mobo. GPU fan is pointless if you have a large video card like RTX 30 series. If you get the case you will be better running fans in the position like I have. The 200mm intake fans are shrouded so 120 or 140 fans work best in front
