


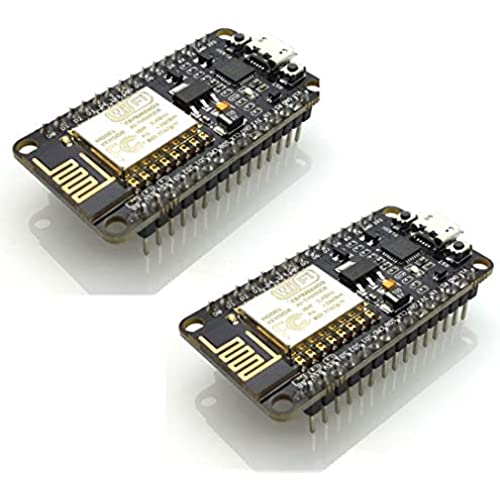
HiLetgo 2pcs ESP8266 NodeMCU CP2102 ESP-12E Development Board Open Source Serial Module (Pack of 2PCS)
-
WH7QQ
> 24 hourThere is no decent support for the Linux user out there...everything is W$ pap translated for Linux and it just does not work...or its glib pap from some enthusiastic idiot who leaves critical (complex) steps out and it is impossible to reproduce their junk. If you really want to waste your time, buy one of these frauds and try to make it do anything besides blink.
-
Jeff
> 24 hourOne worked. One didn’t. Looked like the firmware uploader was going to work, but it would stall out indefinitely. The working unit is doing just fine.
-
Matt Portrey
> 24 hourThese are great boards for adding MQTT communication to small projects. Currently utilizing these in a DIY aquarium controller to interface with relay power strips and measuring equipment. Works as advertised and easy to setup and program if familiar with Arduino IDE.
-
Dritan
> 24 hourGot a first blink then web server to turn on/off the built-in LED via APIs called on web browser. Use the provided examples in Arduino IDE after installing esp8266 board. Pretty straight forward and neat! Theres a teeny tiny bug when using the Arduino IDE and executing digitalWrite(LED_BUILTIN, LOW); will actually cause it to be HIGH and turn ON the LED. Executing digitalWrite(LED_BUILTIN, HIGH); will toggle a LOW execution. But this appears to be only for LED_BUILTIN and the other output PINs seem to respect LOW to send a LOW signal and HIGH for the HIGH output. Great product so far!
-
Johnston
> 24 hour#1. They came packaged extremely well and obviously sealed correctly with no bent pins, dings or scratches. This set the pretenses of my expectations although still skeptical. #2. The boards themselves were solid all the way around. No wiggling pieces from bad soldiering ect. #3 I mentally prepared for a difficult time in flashing any type of program onto them as I havent delt with microcontrollers in this magnitude. I over read as I waited because again, to my surprise, it was simple. #4 The route I chose was to utilize Arduino IDE and github for the first one. #5 A plethora of information is online as well as several hundred page user guide I downloaded from the link that came in the box(another easy venture to do). #5 I chose Arduino IDE as I have an UNO R3 and had some experience with that. I also installed MicroPython and CircuitPython and because I use Virtual Studio Code for Python programming. It works awesome on that platform as well . #6 You dont need either if youre running Linux(I used my Ubuntu, havent toyed with kali yet or a VM) as everything can be done from the command line if you prefer. #7 AND FINALLY I WILL be purchasing these again!
-
Alex Arrow
> 24 houroverall a decent item. purchased 2 cards ,one arrived defective so knocked of a star but excellent attentive customer service, took care of fast replacement as well as technical support decided rewrite the review Thank you!
-
Joshua Griffin
> 24 hourI have ordered six so far and they have all worked. Sometimes the USB connector isnt quite straight but I have never had one not work. I use them both with the Arduino firmware and micropython firmware.
-
Tim Lehotsky
> 24 hourBought this in the summer. Didnt get to use till 6 months later, one works great, the other dead, computer wont even recognize when connect. IF YOU BUY make sure you install the correct USB driver and test right away....too late now for me to return :(
-
T Ferg
> 24 hourI had to hold reset button down on one board, when connecting USB, in order for Arduino IDE to upload. Otherwise, both units work.
-
Tim
> 24 hourThese are a great way to build a small sensor board without needing a separate processor.