
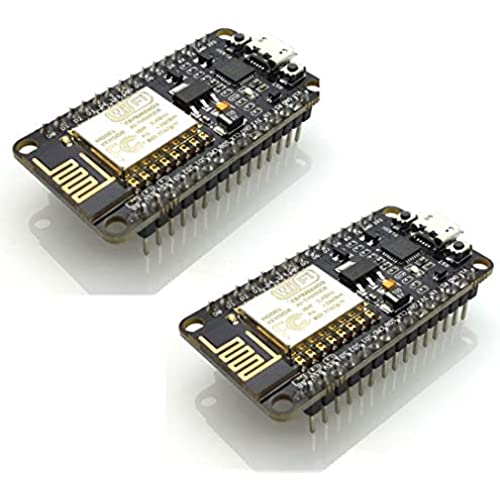

HiLetgo 2pcs ESP8266 NodeMCU CP2102 ESP-12E Development Board Open Source Serial Module (Pack of 2PCS)
-

Giancarlo
> 3 dayWorked fine with Arduino IDE.
-
Vern Shellman
09-06-2025Im impressed by these. The size of couple of postage stamps theyre a full-blown computer with somewhat limited memory, but built-in WiFi. If I could help someone it would be to mention that while generally it doesnt matter if your WiFi password is upper or lower case, these wont connect unless you use all lower case for your password. It took me a while to figure that out.
-
Nick
> 3 dayIm into home automation and these little guys are pretty much perfect for probes. I pair them with a DHT22 and a couple of LEDs to make temperature probes that feed info to my data collector. I can then use that data to make adjustments to my thermostat to make sure that rooms stay comfy. The WiFi interface is very easy to use and they program directly from the Arduino IDE. And with the ArduinoOTA library, I dont even have to connect them to my PC, after initialization, to update the code. If you just have a sensor and some LEDs or a display, then there is no need for a full size Arduino Uno, these little guys work great.
-
David H. Glass
> 3 dayIll try later on a WIndows machine, but Ive downloaded the drivers in SiLab and followed all the instructions several times. I get all the options on the Arduino IDE to select the board, CPU speed, etc, just not the port. When I connect it, the blue light blinks once and thats it. EDIT: After attempting with several cables, even ones that had worked with a NANO, I found one that worked and am giving this 5 stars Ive tried several cables and even different USB ports... No glory I hate giving this a 1 star review, but it just doesnt work
-
Logan Heath
10-06-2025Totally worth buying from this manufacture! I purchased 5 boards from them and all work effortlessly! One thing I recomend if your computer isn’t picking up the board, and you have the drivers already installed is to try and find another cable to connect to your computer. If you connect the board to your computer and it lights up and the computer doesn’t recognize anything but the board lights up with a blinking pattern , then it’s most likely that the cord your using is only supplying power to the board and not actually making a usb connection. I almost sent this product back thinking it was broken because of this. MAKE SURE YOU HAVE THE RIGHT TYPE OF CORD!!!!
-
Ccampbell
> 3 dayIt is working great, and havent had any issues loading from arduino. Will use in other smart projects.
-
Tu D.
> 3 dayVery good deal for something that works well with other sensors for home automation
-
patrick g
> 3 dayId have to guess ran over
-
naif
> 3 dayGood product I would recommend the purchase of this seller Thank you
-
OldGuy
> 3 dayThe included set up steps in the product description are awesome. I have a blinking light. But why stop there? Why not include a link to a page of more sketches or at least ONE tutorial. Yes, I realize I can search questions and answers and sift through reviews, but all it would take is one well written page and a link to it to make me want to give this product and the company a 5 star rating. Excited to start using these boards.
