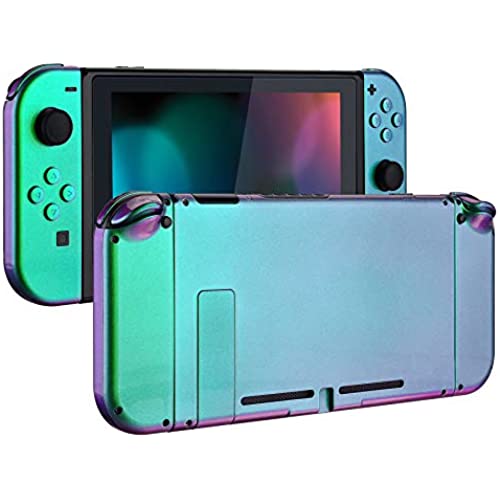
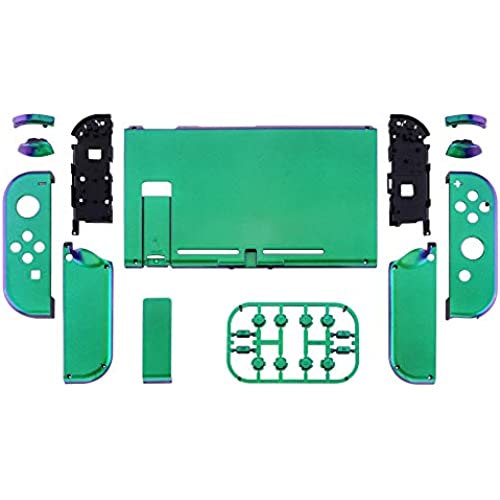

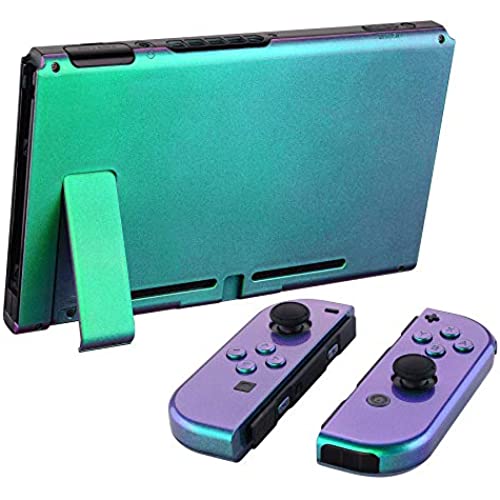


eXtremeRate Glossy Back Plate for Nintendo Switch Console, NS Joycon Handheld Controller Housing with Full Set Buttons, DIY Replacement Shell for Nintendo Switch - Chameleon Green Purple
-

Seth L.
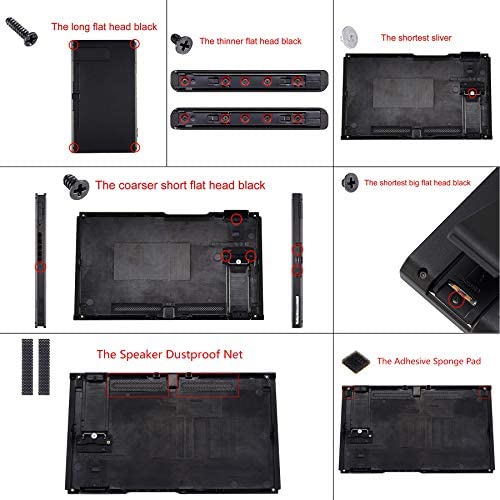
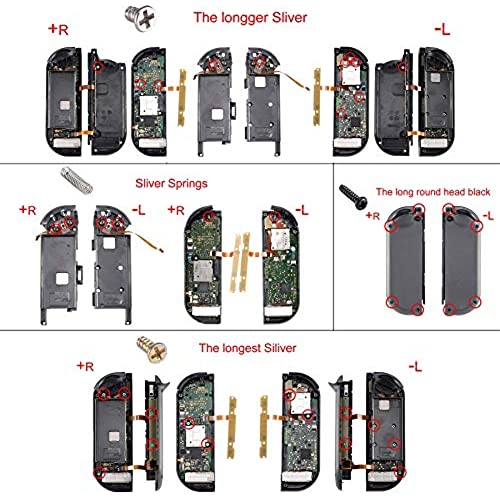
Greater than one weekI got the airforce blue color. I am really happy with it, it looks great! My only real gripe is that it likes to pick up fingerprints/grease really easily but giving my switch an alcohol wipe down once in awhile to keep it clean is fine. Installation requires a lot of patience and working with fragile wires/ribbon cables. The switch back plate was a really easy swap, but the joycons took me roughly 3 hours because you have to *completely* disassemble them and thats where 95% of your work will be done on. If youre willing to put in the effort, and you are really careful not to break stuff, the end result is well worth it though. Highly recommend.
-

Nizel A.
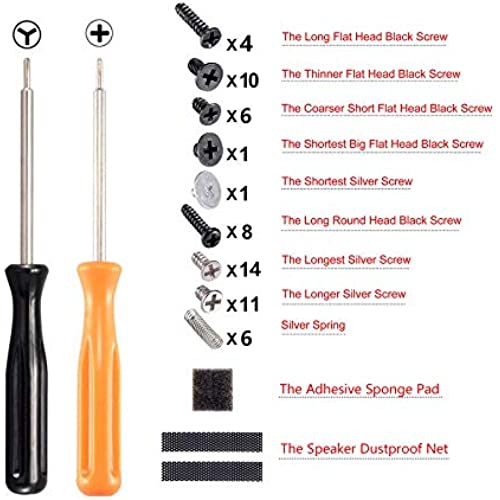
Greater than one weekFirst off buyer beware because mirror plated material is a GIGANTIC fingerprint magnet. If that doesnt deter you then heres my full opinion of this product. Its cheap & makes you really appreciate the craftsmanship thelat Nintendo put into the Switch. Every OEM part is meticulously machined & made to perfection while stuff like this is just lazily thrown together for a quick cash grab which results in a poor quality product. Does it look good? Absolutely. The mirror gold & black combo is a work of art. Missing are the details like the OEM markers, logo, etc. which is understandable why they arent on there, but disappointing nonetheless. Due to the poor craftmanship some parts like the triggers leave too much wiggle room. This adds on to the major problem which is the cheap springs. Nintendos springs attach to the triggers & dont let go...these do not so youre forced to hold them in place while praying that they go in the right spot of just stay put in general. 45+ minutes playing around with cheap springs is unacceptable. Once you get everything together it looks great, but the journey is a pain. Not to mention its made out of thin plastic and the gold plating will just wear off after a few years. It would be nice if this was actual metal. Youre also going to need extra things like spudgers to get off the clips on the joycons & tweezers to install the springs as well as the ribbon cables. It at least comes with a screwdriver & bits.
-

Matt T
> 3 dayThe shell feels really rigid and has a soft finish that makes it great for playing your Switch on the go. All of the supplied materials felt really nice to the touch and didnt feel like cheap plastic. The pictures do a good job of accurately showing how the color looks in person. It comes with some tools to change it yourself although I found my screwdriver kit from iFixit was able to fit the screws a lot better than what was supplied. It was a nice touch though.
-

Kai
> 3 dayIt was fun to install and the feeling of the soft cover is nice! The only issue I had and cause for the 3-star rating: - The screwdrivers they provide with the kit aren’t well made. The (Philips)screwdriver chipped after trying to get the first screw out & stripped the other screws so badly on the joycon track I had to drill the screws out. Other than that, happy with the product / kit so far.
