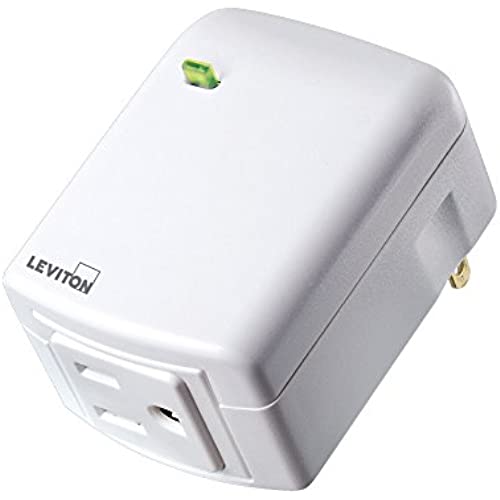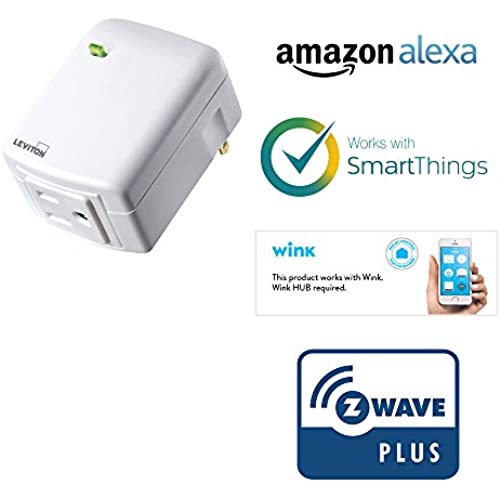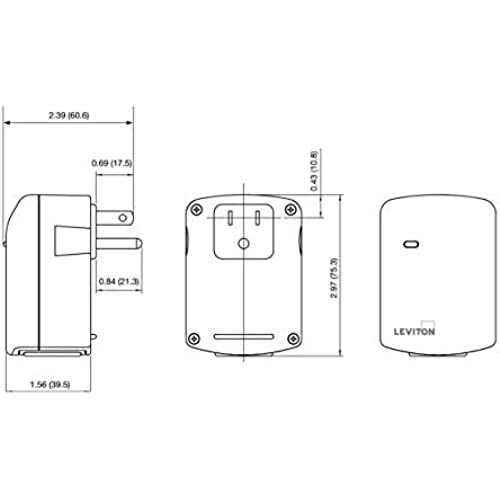


Leviton DZPA1-2BW Decora Smart Plug-in Outlet with Z-Wave Technology, White, Repeater/Range Extender
-

Robert J. Watson
> 3 dayReading through the reviews on this and its companion remote I wasnt clearly able to pick up a couple of key points So here goes: First the good: For a 3 way , or greater(up to 4 remotes) switch if you buy the pair and set them up correctly you will have a commercial grade well sorted system capable of independent switching and dimming from both locations including with some neat customizable features and full Zwave integration ( Samsung smarthings controller). So 5 stars Now the rest: If you just buy the primary and wire it with a conventional 3 way at the other end you will have working lights and some z-wave control BUT the lights must switched back on from the switch last used to turn them off which will often defeat the purpose of having 3 way. Second dont make the mistake of assuming the color coding of the terminals matches that of a conventional 3 -way . If you wire it this way it wont function. Instead think of the remote switch as a satellite of the primary with its own hot and neutral connections and a single control wire (terminal YL/RD) going to the primary. Follow the wiring instructions carefully. So overall an excellent if pricey system.
-

Michael M.
> 3 dayI bought four of these, the first time around the wrong one was sent; then the second set that came through had a jammed ground screw that I had to await replacement for. Im using all four for all LED sets. The dimmer looks and works well, however once the dimmer is past the 90% dim level the lights go out. I changed the load setting to LED and the same results yield (on all four). The device needs a firmware update, something is going on and its extremely annoying when turning on the lights.. as I have to turn it on and hit down one level on the dimmer (to the 9/10 position) to get the lights to come back on at their max power.
-

MRL
> 3 dayWorks perfectly with SmartThings. This a Z-Wave Plus switch. I recommend going with Z-Wave Plus if you have a Z-Wave Plus controller as it has better range than original Z-Wave. Please note that this switch requires 4 wires - Black to Hot, Red to Load (may be a Black wire going to Load), White to Neutral and Green (or bare) to ground. If you do not see a Red wire in the box, be sure to determine which Black wire is Hot (by using a probe) - this connects to the Black terminal on the switch. The other Black wire goes to the Load and connects to the Red terminal on the switch. The wiring directions are included but are not easy to understand. If unsure, please contact an electrician. DO NOT ATTEMPT TO WIRE UNLESS YOU KNOW WHAT YOU ARE DOING!
-

S.Johnson
> 3 dayEXTREMELY disappointed. Ring will register the device and you can manually control the on/off for it, but you cannot setup schedules (supposedly you can if you pair Alexa with Ring, which I don’t want to do…I just want Ring standalone to handle my needs without Alexa listening in all the time). Returning mine! Will be getting Kasa HS103P3’s to just control simply. So sad Ring can’t schedule power outlets like every other competitor so I can leverage one solution. (this leviton smart plug is solid build though, so the product itself is good, just not as flexible to leverage in Ring and may have other limits with other hubs/systems)
-

RH in SC
> 3 dayMost of my smart switches are Zooz, but I needed to control the lights in my garage, 2 of which are double fluorescent. This seemed to be the only switch that could handle the initial surge. It fit the bill perfectly. The only annoying part of the installation was needing to add a neutral wire jumper, which was not provided.
-

Francesco Micci
> 3 dayWorks great, sound not that great but understandable for the size
-

Victor E Martinez
> 3 dayI love the design and lights indicating the brightness level. However, this switch has failed to work about 1-2 time each month by not allowing me to turn off the lights. The lights remain on and the switch does notthing. I must reboot the switch by turning off the electical circuit to the switch and then turning it back on. I didnt worry the first time that this failure occurred; however, it is now recurring leading me to believe that the switch circuitry design is bad or I received a defective switch and it is too late for a return.
